How To Use SeaArt: Your Shortcut from Beginner to AI Art Pro
(No More "Confused Moments" – Just Stunning Results!)
Feeling overwhelmed? Been there! This guide packs everything I wish I knew – from basic clicks to training my own model – into simple, actionable steps. Let’s turn your confusion into creativity!
🎨 Part 1: Your First Masterpiece (Beginner’s 5-Minute Workflow)
Stop searching for buttons – start generating!
Preparation:
- Sign up at [SeaArt.ai](https://seaart.ai/) (Google/Github/Email).
- Click "Create" > "Generate" in the top menu.
Steps:
1. Prompt Magic:
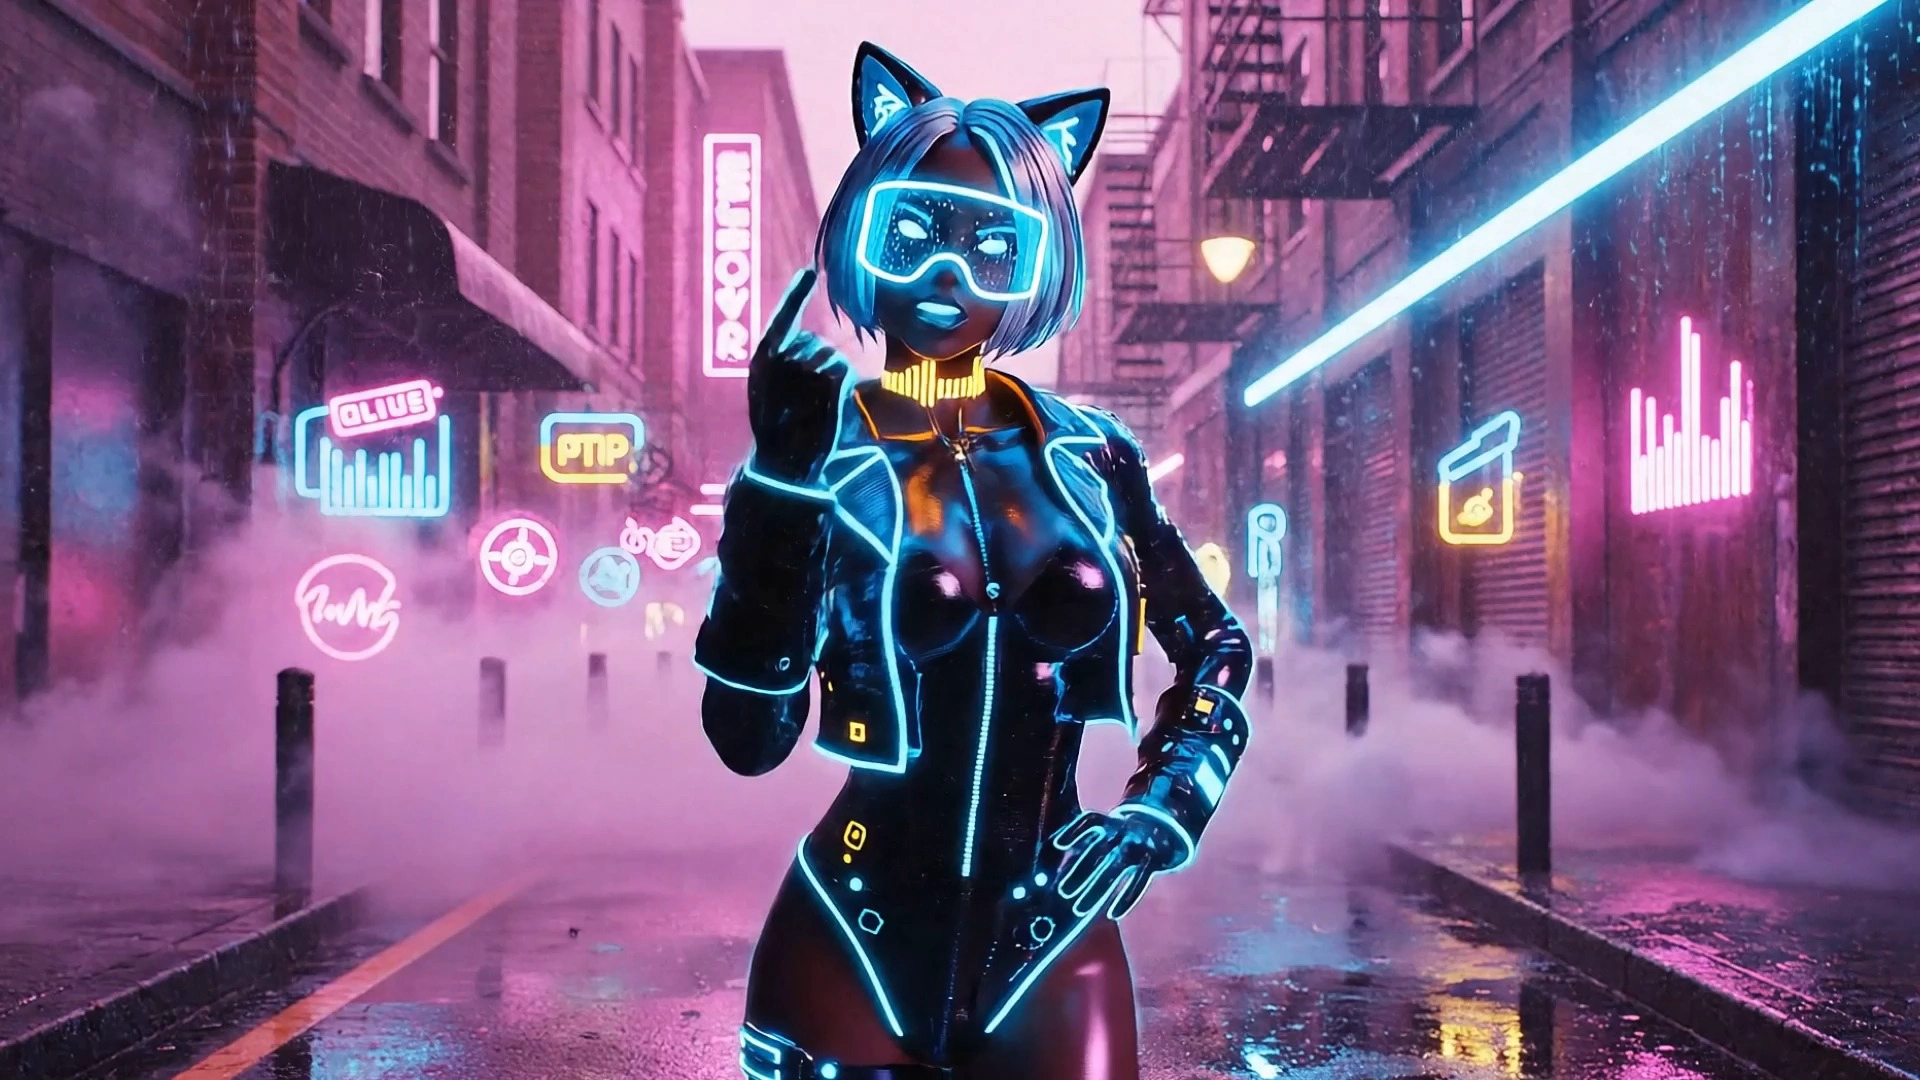
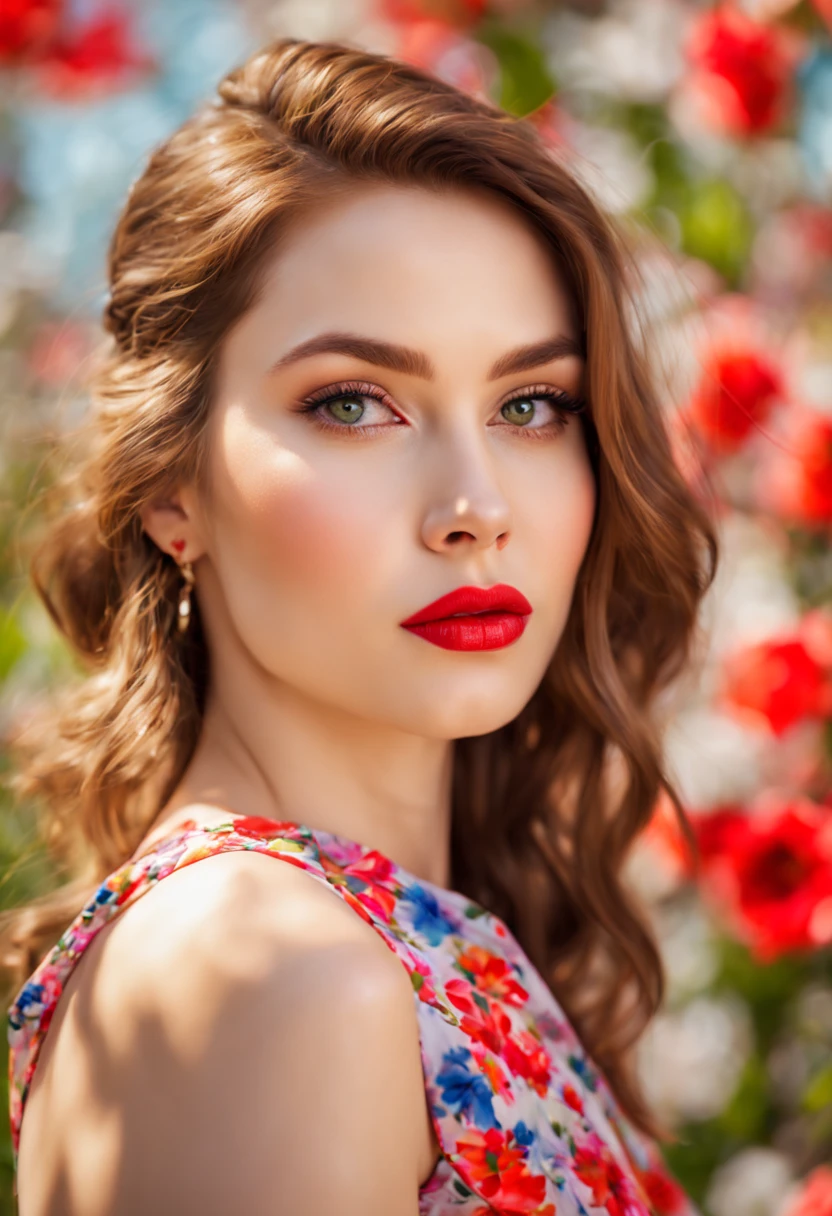
- Basic: Describe your scene clearly. "photorealistic Siamese cat sleeping in a sunbeam, soft focus, cozy bedroom"
- Pro Tip: Add style keywords like "anime screencap" or "oil painting impasto" after your description.
- Troubleshooting: If results look weird, remove vague words ("beautiful", "amazing"). Be specific!
2. Model & Settings (Critical!):
- Model: Start with popular options (e.g., `Realistic Vision V5` for photos, `Counterfeit V3` for anime).
- Sampler: `DPM++ 2M Karras` (balanced speed/quality).
- Resolution: `768x768` (safe default).
- CFG Scale: `7` (higher = stricter to prompt, lower = creative).
- Sampling Steps: `25-30` (more steps ≠ always better!).
3. Generate & Refine:
- Hit "Create"! Don’t love it? Click "Remix" to tweak the prompt/settings.
- Use "Vary (Strong/Subtle)" on a good image for new variations.
✅ Summary: Clear prompt + popular model + default settings = Your first win!