
ComfyUI Beginner Basic Tutorial
Contents
1. What is ComfyUI?
2. Introduction to the ComfyUI Interface
3. Your First AI Image Generation Workflow
● Load Model
● Enter Prompt
● Empty Latent Image
● Start Generation
● History
● Successfully Generate Your First Image
4. Renaming a Workflow
?????porting/Saving My Workflow
6. Workflow Publishing Instructions
What is ComfyUI?
ComfyUI is a visual AI image generation tool.You can drag and drop nodes like building blocks.
Introduction to the ComfyUI Interface
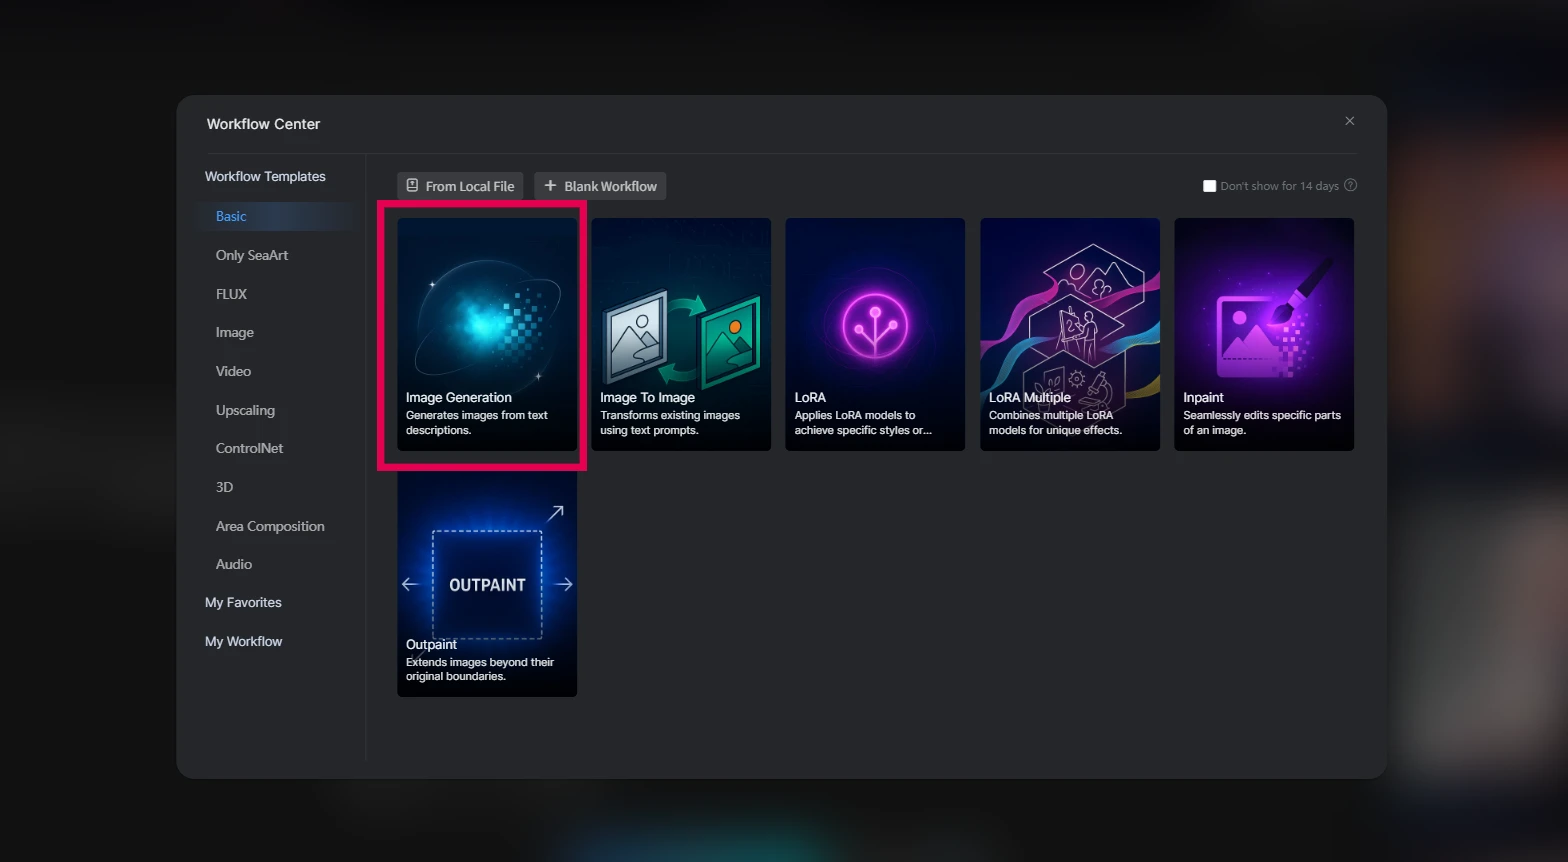
Let’s take “Image Generation” as an example
Click the “Image Generation” card with your mouse
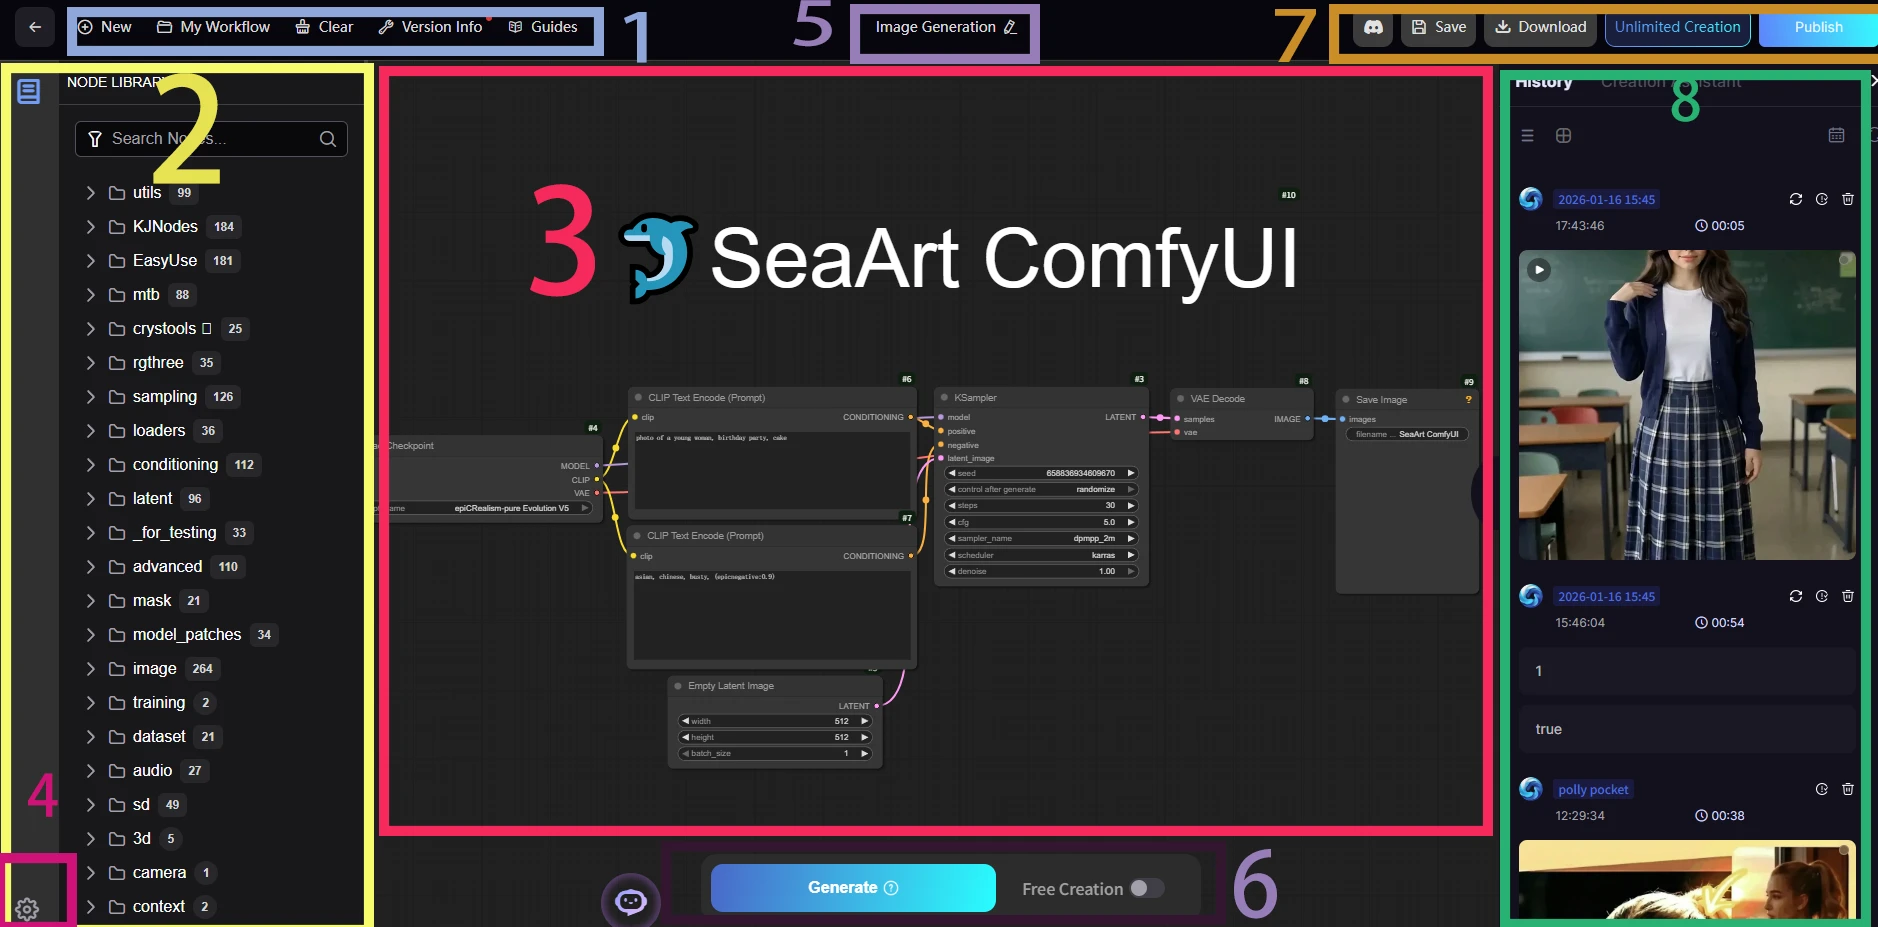
1.Top Main Menu Bar

This is the global operations area, which includes:
New: Create a new workflow.
My Workflow: Manage and switch between your saved workflows.
Clear: Clear the current workspace and start over.
Version Info: View the current platform version information.
Guides: Access official or platform tutorials; check here if you encounter any problems.
2.Node Library
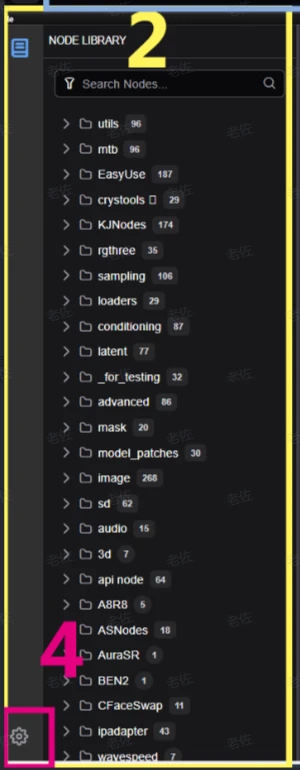
This is the area for browsing and searching all available node categories. You can:Quickly find nodes using the search bar.
Drag and drop nodes into the central workspace to build your AI workflow.
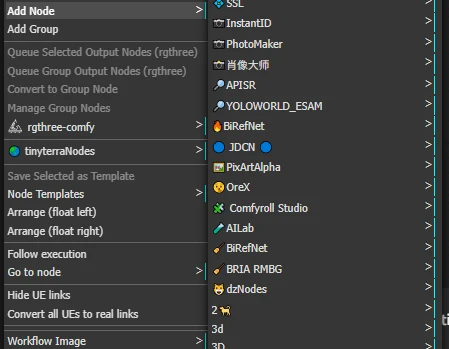
A:Are there any other ways to add nodes?
B:Yes, you can also double-click in the workspace to add a node
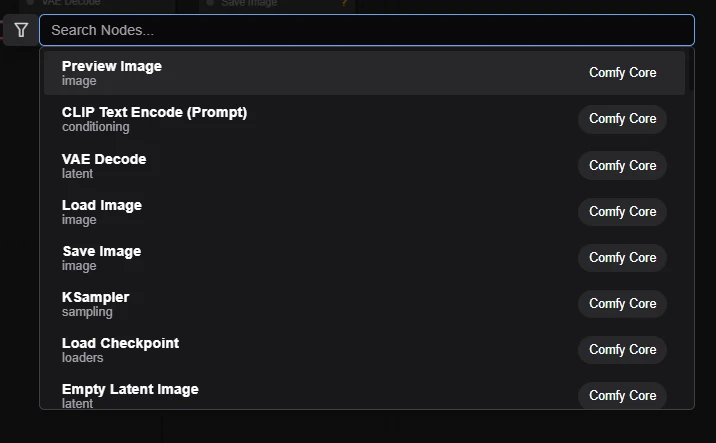
B:Right-click in the workspace and select "Add Node" to see the categories.
3.Workspace

This is the core visual workflow editing area, where you can:Drag and drop nodes, connect them, and build AI image generation or processing workflows.
Each node represents a functional module (such as loading a model, entering prompts, sampling, decoding, saving, etc.).
Visually see the flow of data and the processing logic.
4.Settings Button

ick the gear icon in the lower left corner to enter the platform settings, where you can adjust the interface theme, node display style, compute resources, and other personalization options.ComfyUI
Settings Panel Overview
Locale (Language)
You can switch the interface display language, such as English, Chinese, etc.
Canvas
Controls whether nodes in the workspace automatically snap to the grid.You can adjust the grid size to make node arrangement neater.
Graph (Workflow Diagram)
Allows you to choose the style of the connecting lines, such as “Spline” or other styles, to make the workflow diagram more visually appealing.
Link (Connection)
Sets the marker style in the middle of the connections, such as “Circle,” making it easier to see the relationships between nodes.
5.Workflow Name and Rename Area
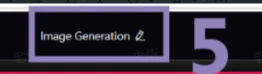
Here, you can see the name of the workflow you are currently editing (such as “Image Generation”).
Click the pencil icon to directly rename your workflow, making it easier to distinguish and manage different projects or tasks.
Using clear and meaningful names helps with future searching, saving, sharing, and team collaboration.。
6.Run and Create Buttons
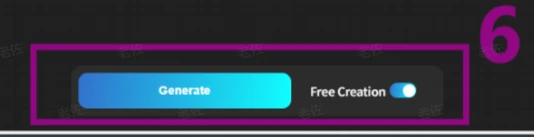
Generate: Click to run the current workflow and start AI image generation.
Free Creation: When enabled, you can create freely with all nodes except API nodes!
7.Top Right Operation Area

Feedback: Submit feedback or suggestions; contact the platform if you encounter any issues.
Save: Save the current workflow for future use.Download:
Download the current workflow.
Publish: Publish your workflow to the community and share it with others.
8.Results and History Area
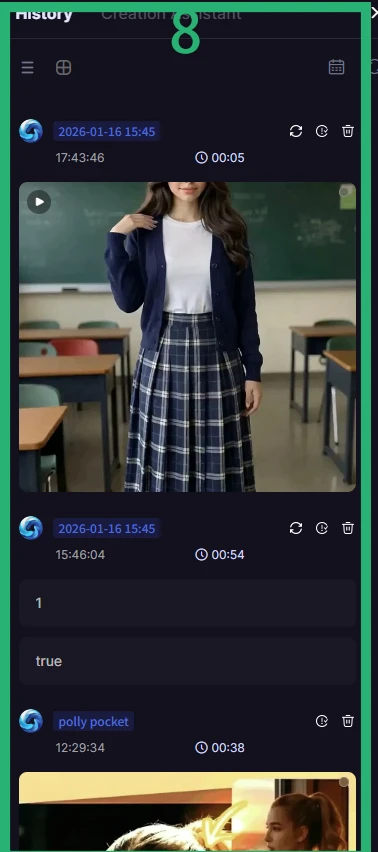
Displays the results of each image you generate, arranged by time.
You can click on an image to view it in full size, download, or delete it.
This makes it easy to compare results generated with different parameters or models.
A:I don’t see this section on my interface.
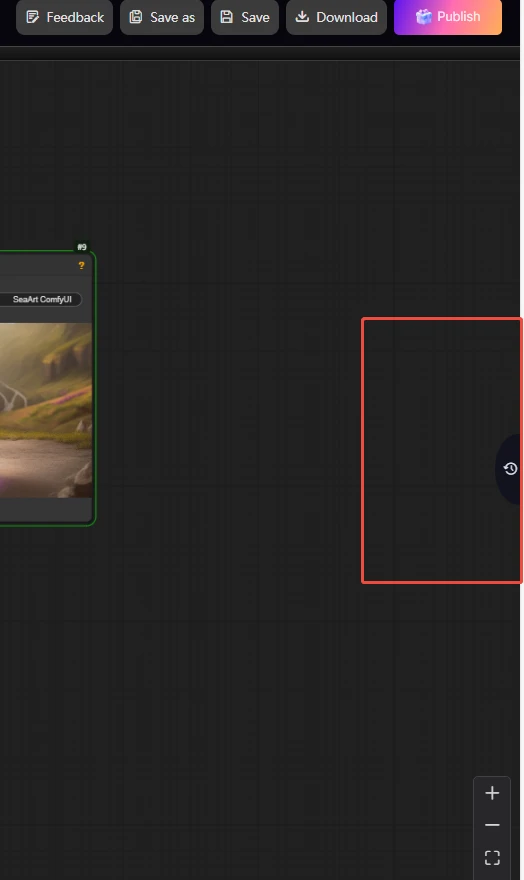
B:Just click here.
Now let’s start generating your first image!
1.Load the model
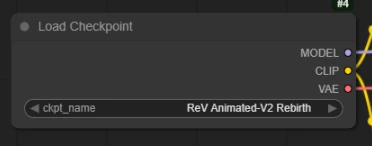
- In the properties panel on the right, click to select an AI model (such as sd1.5 or sdxl).
(How do you choose the model that suits you?)
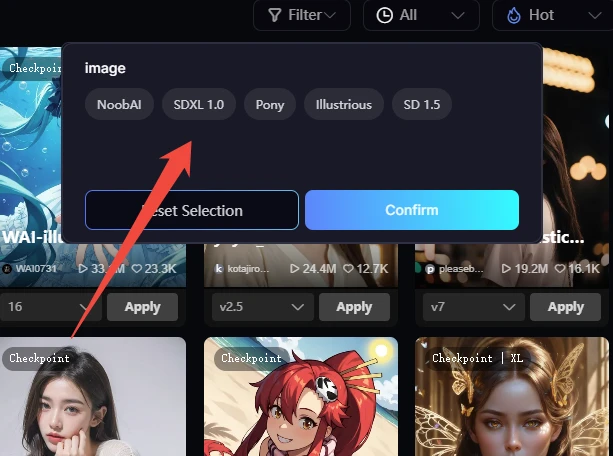
The vast majority of the listed model types can run directly on the default text-to-image node in ComfyUI without changing any parameters.
A few special models (such as sd3 or some Flux models) may require additional settings—if you encounter errors, please refer to the model documentation or community guides.
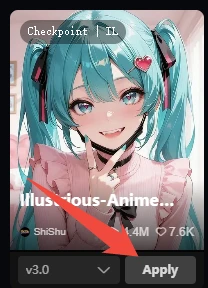
Click “Apply” when you find your preferred model.
2.Enter prompt:
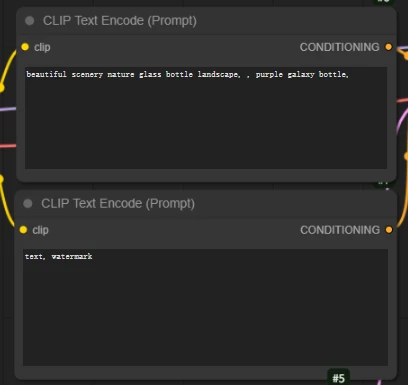
- Enter your creative description in the Prompt node.
【What is a positive prompt ?】
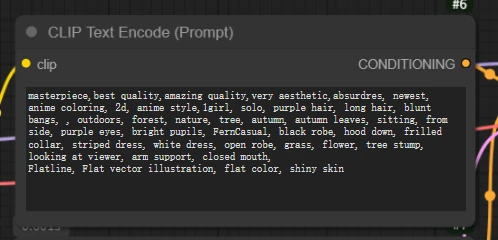
- A positive prompt is what you want to appear in the AI-generated image.
- For example:“masterpiece,best quality,amazing quality,very aesthetic,absurdres, newest, anime coloring, 2d, anime style,1girl, solo, purple hair, long hair, blunt bangs, , outdoors, forest, nature, tree, autumn, autumn leaves, sitting, from side, purple eyes, bright pupils, FernCasual, black robe, hood down, frilled collar, striped dress, white dress, open robe, grass, flower, tree stump, looking at viewer, arm support, closed mouth,
Flatline, Flat vector illustration, flat color, shiny skin,”
- How to use: Enter your desired scene description in the Prompt node—the more detailed, the better.
【What is a negative prompt ?】
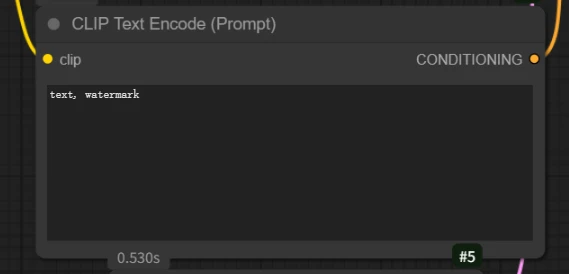
- A negative prompt is what you do NOT want to appear in the AI-generated image.
- For example: "blurry, low quality, watermark, text"
-How to use: Enter the elements or styles you want to exclude in the Negative Prompt node.
【Common usage】
-Positive prompt: Describe the subject, style, details, environment, etc.
- Negative prompt: Exclude unwanted defects or elements.
【Tips for beginners】
- Make your positive prompt as specific as possible to describe the image you want.
- You can refer to common negative prompt words, and keep adding more based on your results.
Common negative prompts:
((worst quality, low quality, normal quality, lowres, blurry, bad ?, bad hands, bad feet, bad face, bad proportions, extra fingers, extra limbs, missing fingers, missing limbs, fused fingers, long neck, mutated hands, deformed, disfigured, poorly drawn, watermark, signature, text, jpeg artifacts, cropped, out of frame, duplicate, morbid, mutilated, gross proportions, malformed limbs))
- Try different combinations to find the style and effect that suit you best!
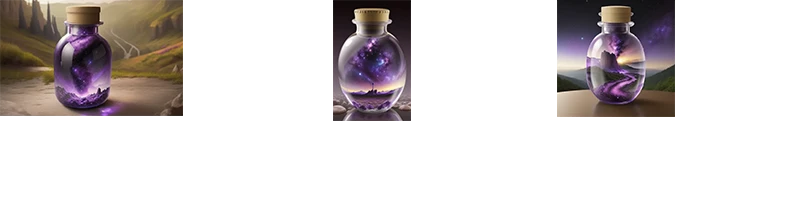
3.Empty Latent Image:
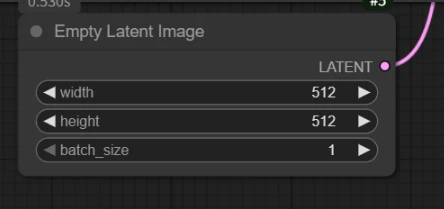
Set width and height to your desired resolution (e.g.,512x512).
Parameter description:
width:The width of the generated latent image (in pixels), commonly 512, 768, etc. It should match the resolution supported by the model.
height:The height of the generated latent image (in pixels), same as above.
batch_size:The number of latent images generated at once. Usually set to 1, but you can increase it for batch generation as needed.
For example:
4. Start running the workflow!:
Run: Click the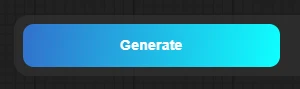 button.Start generating the image.
6.History
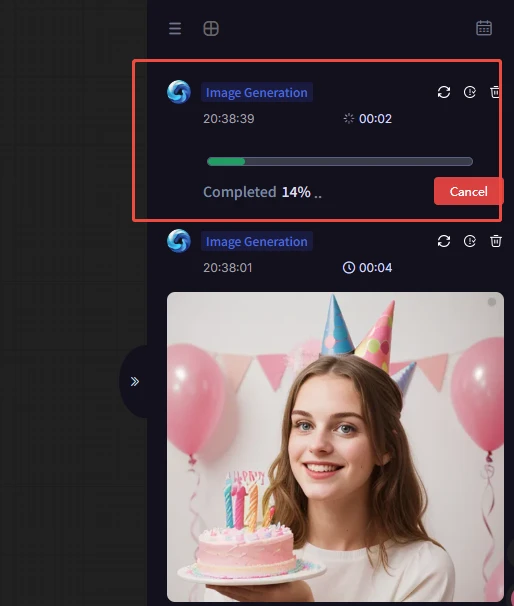
Progress bar display
After you click "Generate" to start image generation, a real-time progress bar with percentage will appear on the right side for the current task.
Cancel button 
If you realize you entered the wrong parameters or don’t want to wait any longer, you can click the red “Cancel” button to stop the current generation task at any time.
A: I don’t see my progress bar/task.
B: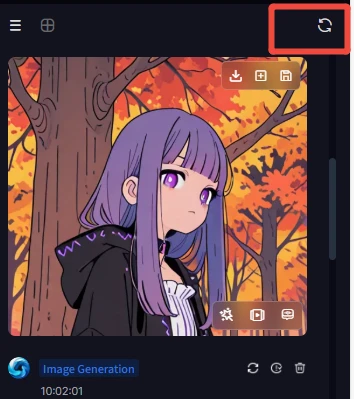 Click here to refresh your task progress.
The generated image has appeared!
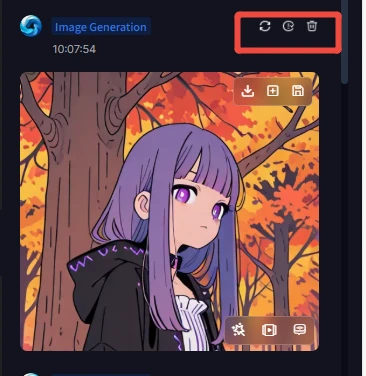
First button: One-click restore parameters for easy reproduction and further creation.
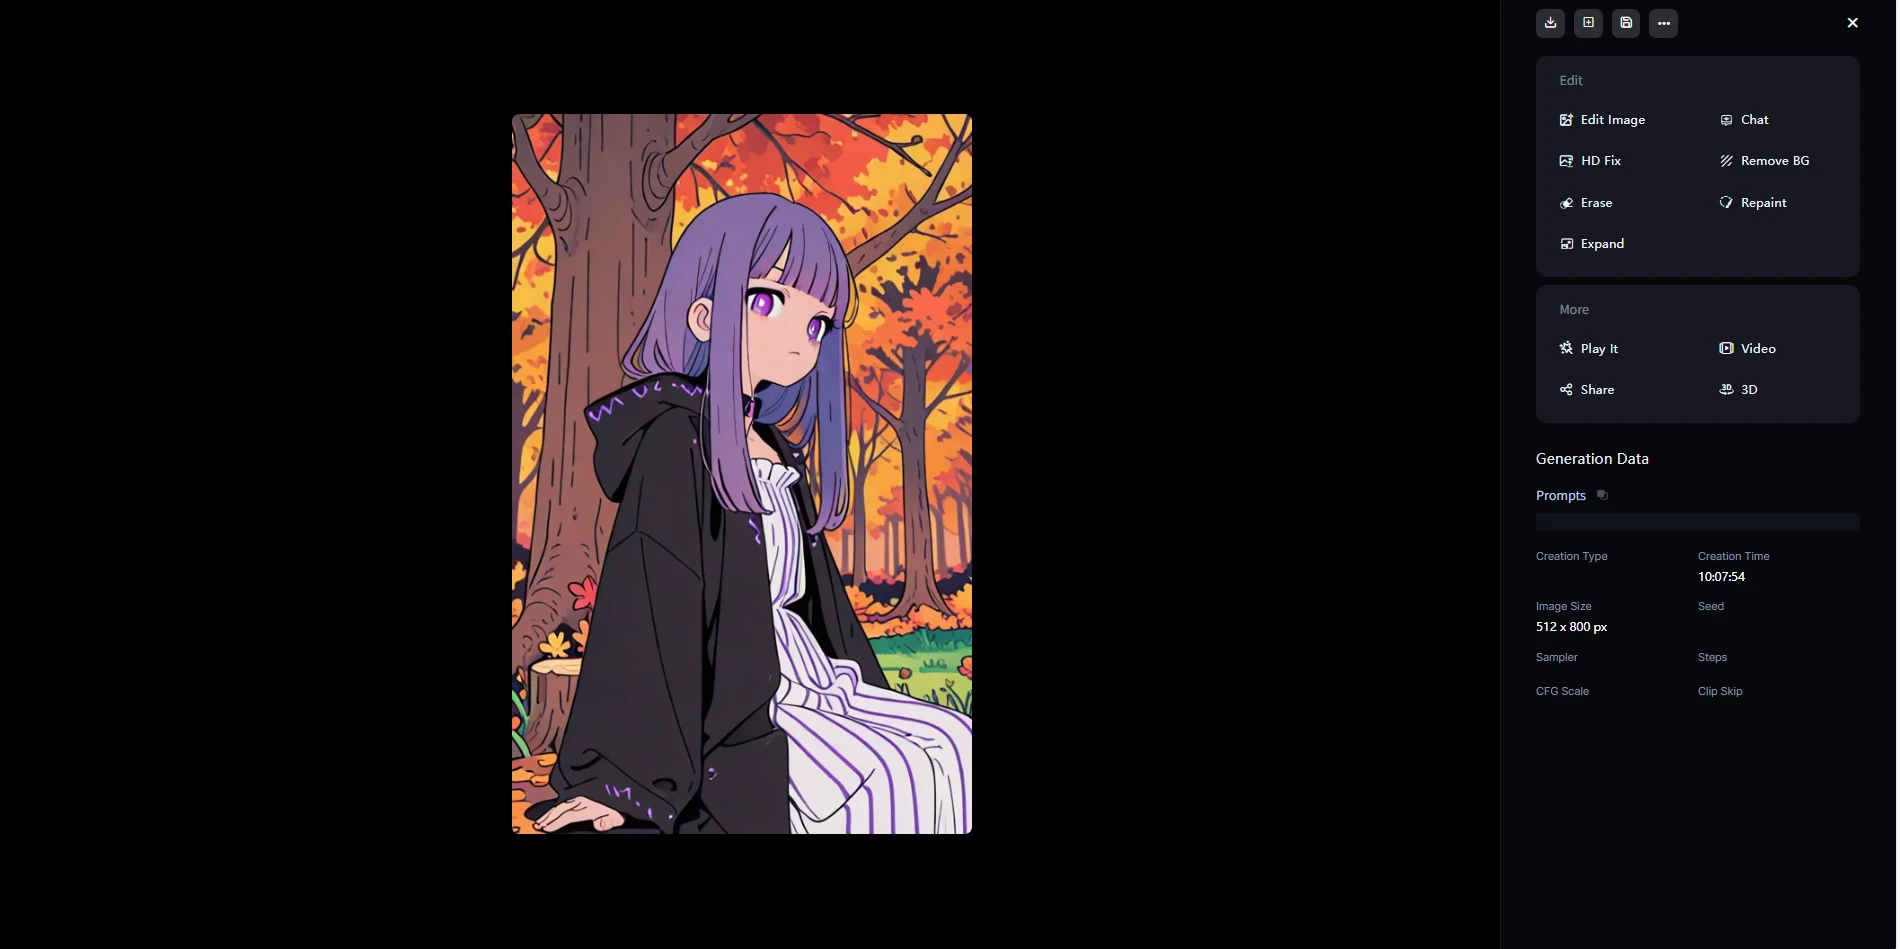
Second button: View detailed information about the image for easy reference and sharing.

Third button: Delete the task to remove unwanted images and tasks.After saving the image, if you delete the task, the image will also be deleted.
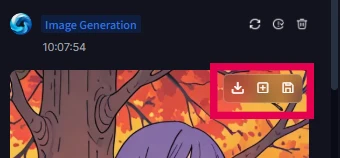
1.Download to local (the first button from the left, with a download arrow icon)
Function: Directly download and save the current image to your computer.
2. Publish to the community (the second button from the left)
Function: Publish this image to the SeaArt community and share your creation with other users.
3. Save to your SeaArt account folder (the third button from the left)
Function: Save the image to your personal folder on the SeaArt platform for easy management and future reference.
Click the image to enter the details page.
7.Workflow Renaming
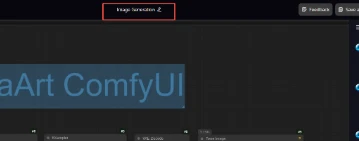
Give your current workflow (flowchart) a meaningful name to make it easier to manage, find, and share.
Tip:
It’s recommended to use a clear and descriptive name that reflects the purpose of the workflow, making it easy to recognize and manage later.
Renaming will not affect your workflow content—only the name changes; your flow and parameters will remain intact.
8.I want to export/save my workflow.
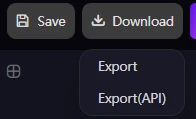
1.Save
Function: Save your current workflow (flowchart/node setup).
Purpose: You can load it directly next time without rebuilding, making it convenient for repeated use or backing up your creative process.
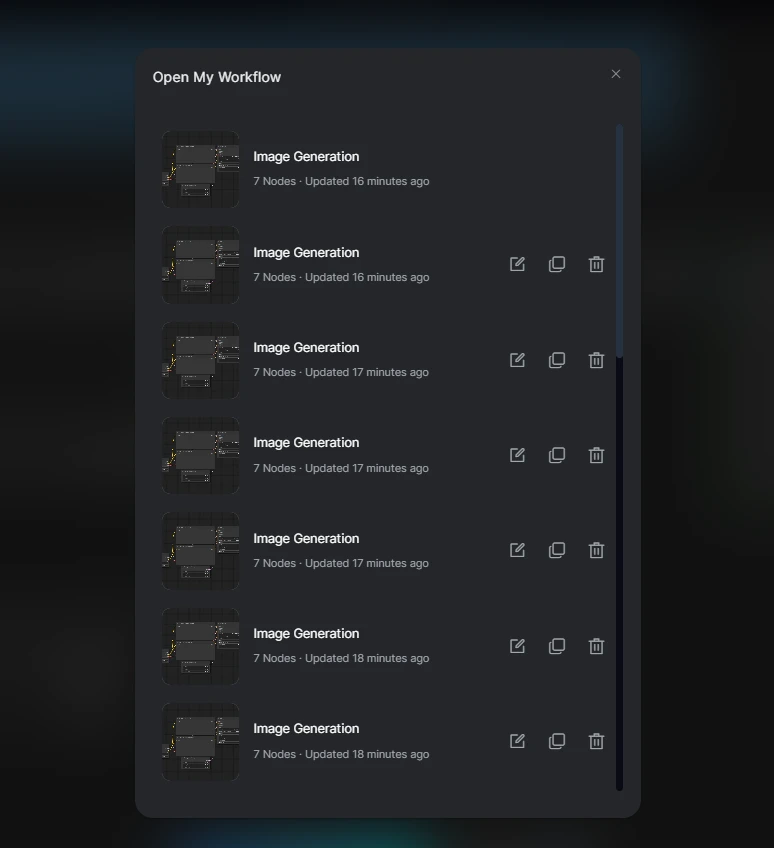
A:Where is my saved workflow?
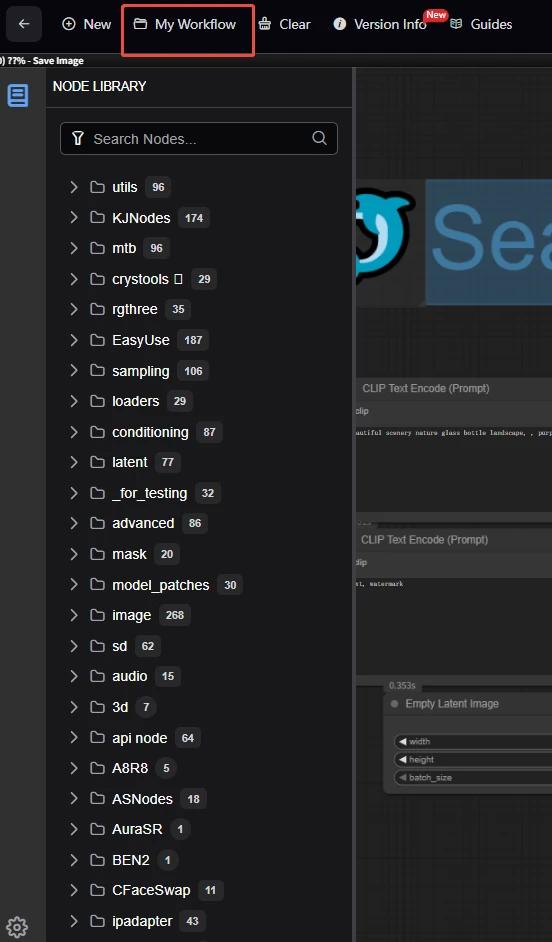
Do you remember the Top Main Menu Bar (Blue Box) we discussed at the beginning?
My Workflow: Manage and switch between your saved workflows.
You can find your saved workflows here!