What is the wan2.2 Video Model?
wan2.2 is the latest open-source AI video generation model developed by Alibaba Tongyi Lab, designed for both text-to-video (T2V) and image-to-video (I2V) tasks. Released in July 2025, it features an innovative Mixture-of-Experts (MoE) architecture, significantly improving video quality, resolution, and controllability.
Key Technical Highlights:
-Mixture-of-Experts Architecture: Integrates high-noise experts (handling global layout and structure) and low-noise experts (handling details and artifact removal), intelligently switching at each inference step to balance global and local details.
-Rich Style and Cinematic Controls: Supports 20+ cinematic tags (lighting, camera movement, color grading, lens effects, etc.), allowing for fine-grained control via prompts.
-Multilingual Support: Built-in T5 text encoder and cross-attention mechanism, supporting multilingual text input including Chinese and English.
As one of the most advanced open-source text-to-video models, wan2.2 is a top choice for AI video content creation thanks to its high-quality output, rich control, and open-source nature.
Using wan2.2 Text-to-Video Model for Text-to-Image Workflows
The wan2.2 T2V (Text-to-Video) model is originally designed for generating high-quality videos from text prompts. However, in practice, I found that the model not only supports rich prompt control but also integrates perfectly with ComfyUI, making creation very smooth.
By setting the "number of frames" parameter to 1, the wan2.2 T2V model generates only a single frame, effectively turning it into a text-to-image model. The results are surprisingly impressive—rich details, diverse styles, strong semantic understanding, and excellent handling of complex prompts, all leading to high-quality static images.
This approach allows me to use the same workflow for both video and high-quality image generation, greatly expanding the creative possibilities of the wan2.2 model.
Generation Results Showcase
Below are some representative images generated with wan2.2, showcasing its image quality, detail, and style diversity:
1.(A young woman by the pool)
2.(An astronaut is in a colorful, bizarre tropical rainforest on an alien planet, with realistic cinematic-quality visuals)
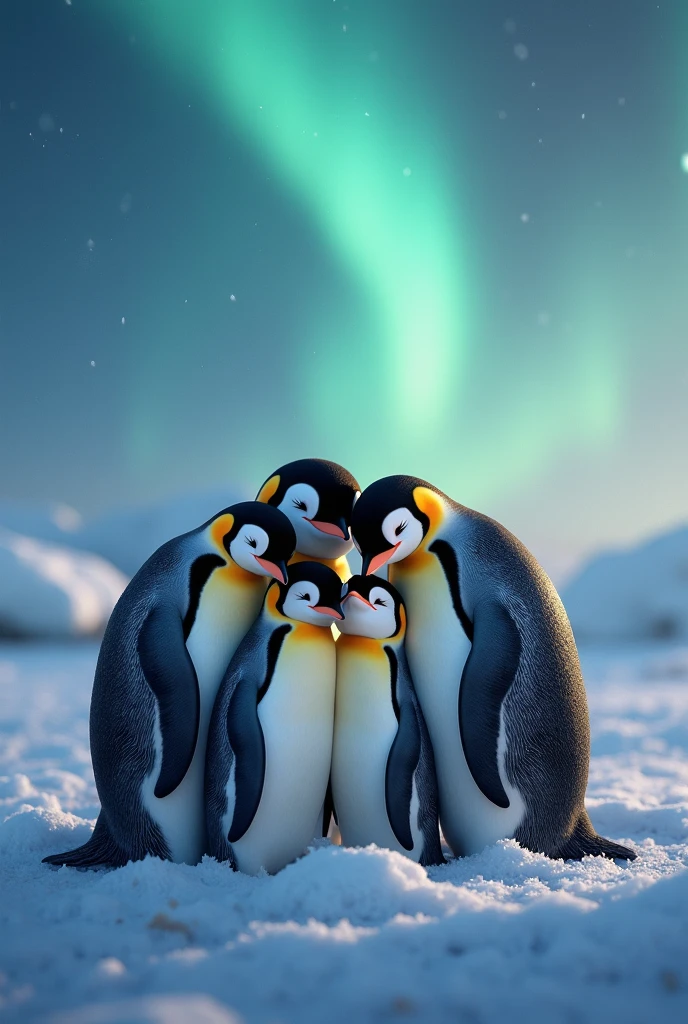
3.(A penguin DJ at a disco party)
4.(A cactus wearing sunglasses at the beach)
5.(A medieval knight using a smartphone in a modern coffee shop)
6.(A Brazilian by is performing freestyle soccer on the street)
7.(A close-up of a woman’s face with freckles shaped like tiny stars and moons)
After seeing these results, you should have a more intuitive understanding of wan2.2's capabilities. Next, I'll break down the workflow design and key nodes to help you quickly get started and master text-to-image creation with wan2.2.
Workflow Diagram
Below, I'll use actual workflow screenshots to explain the function and configuration of each key node, helping you master the complete text-to-image workflow with wan2.2.
# Prompt Design and Optimization
In my workflow, the prompt section uses a custom prompt enhancement tool. This tool combines a large language model (LLM) with a system prompt. The user only needs to enter a simple English description in the "Prompt Input" node, and the "Prompt Enhancer" node will call the LLM with a system prompt, requesting a JSON structure containing fields like scene, subject, action, and style.
The specific process is as follows:
1. Enter a simple English description in the "Prompt Input" node (e.g., "A young woman by the pool").
2. The description is passed to the "Prompt Enhancer" node, which automatically calls the LLM with a system prompt, requesting a structured JSON prompt.
3. The LLM expands and refines the original description according to the system prompt, generating a JSON with fields such as scene, subject, action, and style.
4. The structured JSON prompt is passed to the CLIP Text Encode node as both positive and negative prompts.
The positive prompt uses the LLM-optimized, structured JSON prompt to better guide the model in generating the desired content and style.
The negative prompt is usually left at its default setting, which is already effective at filtering out common artifacts and unwanted elements.
This setup ensures expressive and controllable positive prompts while simplifying negative prompt configuration, making the workflow more efficient and user-friendly.
# Empty Latent Image Node
This node sets the size and number of generated images.
-width and height: Set the width and height of the generated image. I often use 1440×1920 (portrait) or 1920×1080 (landscape), adjustable as needed.
-batch_size: Sets how many images to generate at once. It's generally recommended to set this to 1 to avoid out-of-memory (OOM) issues and ensure stable generation.
In practice, generating one image at a time (batch_size=1) is safest, especially at high resolutions, as generating multiple images at once can easily cause OOM.
This node directly affects the resolution and number of output images and is a key parameter for controlling output.
# Model Loading and Configuration
For model loading, I use the official ComfyUI default wan2.2 T2V model, CLIP model, and VAE model to ensure compatibility and stability.
Additionally, I attach the wan2.1 lightx2v accelerated inference LoRA to both the high-noise and low-noise models. Testing shows this LoRA works well for both, improving inference speed and some aspects of image quality.
I usually keep the LoRA weight at the default value of 1. Lowering the weight can lead to more body distortion, errors, or grayish images, so it's best to keep it at 1 for optimal results.
# ModelSamplingSD3 Node and shift Parameter
In my workflow, I usually set the shift parameter of the ModelSamplingSD3 node to 1.
The shift parameter adjusts the "offset" during the sampling process, affecting the diffusion model's generation dynamics. The default is 3, but my tests show:
-shift=1 produces more stable images, with more natural details and fewer oddities or failures.
- Higher shift values can bring more novelty but also more instability, especially at high resolutions or in complex scenes.
- For high-quality, controllable static images, shift=1 is a safe and effective choice.
Therefore, I recommend keeping shift at 1 for most text-to-image scenarios. If you want to experiment, you can try higher values, but be aware of the potential for instability.
# Two-Stage Denoising and Sampler Settings
In my workflow, denoising is split into two stages, corresponding to the high-noise and low-noise models:
-High-noise stage: The first 2 steps are handled by the high-noise model, focusing on global structure and layout.
-Low-noise stage: The remaining 6 steps are handled by the low-noise model, refining details and texture.
With the accelerated inference LoRA, the entire denoising process only needs 8 steps, greatly improving efficiency.
CFG (guidance scale): I usually set this to 1 for more natural, realistic images and to avoid over-guidance artifacts.
Sampler: I use `res_2s`, which in my tests produces excellent detail and overall image quality, making it ideal for high-quality static image generation.
The wan2.2 text-to-image workflow used in this case is publicly available on the SeaArt. You're welcome to try it out, discuss, and provide feedback.
[Click here to access and use this workflow]
If you have any questions, ideas, or suggestions during use, feel free to leave a comment or share your results and experiences in the community. I hope this case study brings new inspiration and practical reference to your creations!