

Continuing the pace of Part One, in this installment we bring another 8 ComfyUI nodes, including: workflow and key parameter explanations, common notes. Reading suggestion: you can read in order to gradually expand your skills; or jump to a category as needed. Friendly reminder: the naming of different nodes may vary slightly across platforms; the node names here apply to Haiyi AI.
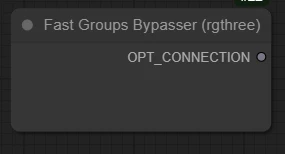
I. Fast Groups Bypasser (rgthree)
Node group control
What is a node group: in ComfyUI, node groups let you bundle multiple nodes together for easier management and operation. For complex workflows this is especially useful, reducing clutter and improving efficiency.
Default style of node groups:
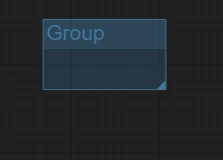
You can freely drag the size of a node group from the lower-right corner
Create a node group:
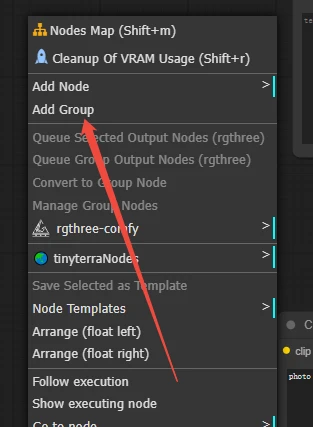
Place the corresponding workflow or nodes into the node group
Back to an introduction of Fast Groups Bypasser (rgthree)
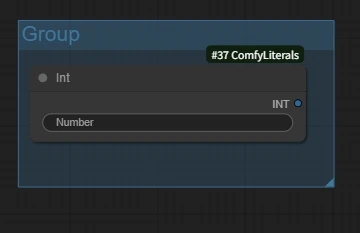
Default state:
State after groups are included in the workflow:
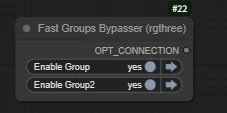
This node can freely toggle your node groups: for example, if you want users to choose which workflow to use or whether to (skip | use) a specific node, you can put the node or workflow into a node group.
Example: I have two workflows, text-to-image and image-to-image, and I want users to freely choose the workflow they need.

Put the two workflows into different node groups, then use the node to freely select the workflow you need.
Extra tip:
After selecting all nodes, use the shortcut ctrl + g to add them into a node group directly.
II. A or B

In Part One we mentioned the Switch (Any) node.
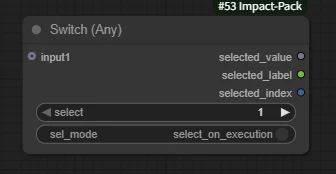
The Switch (Any) node selects the input port.
A or B lets you freely choose the output port.
Another difference from Switch (Any) is that Switch has type restrictions on inputs, while A or B does not restrict the output port type.
As shown:
Randomly connecting outputs being connectable does not mean it will run. Please don’t be mischievous.
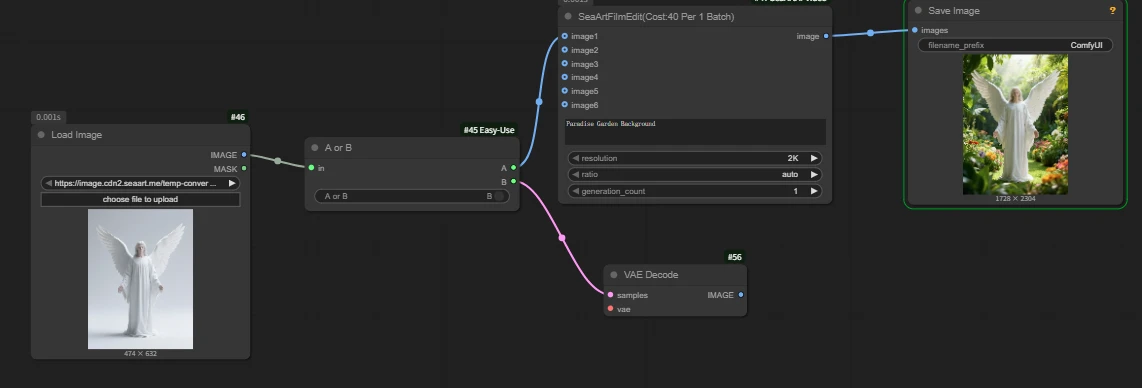
Example: there are two image editing nodes, and I need users to freely choose which node to use based on their situation.
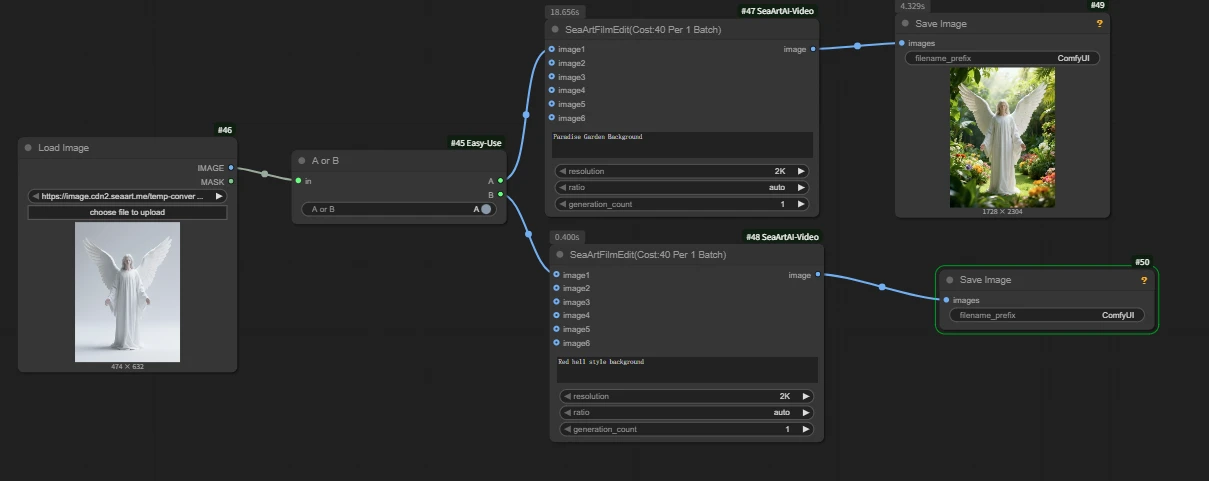
Here we opened the a output port, and output a ran successfully.
From compute consumption you can see that only one node actually ran; the other did not incur charges.
When publishing an AI app, you can expose this node for users to make a free choice, but when naming, please clearly label for other users what the effect is after toggling.
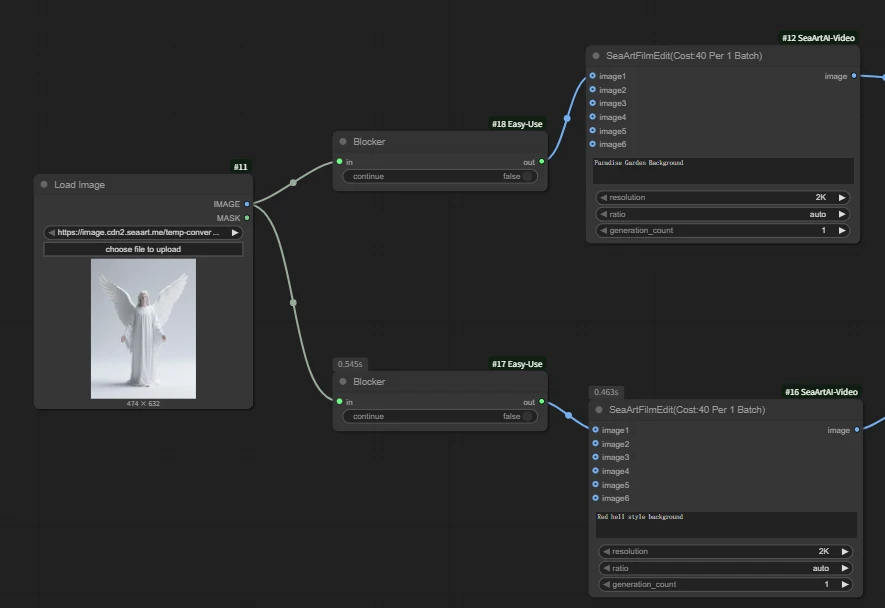
III. Blocker
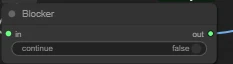
Its function is to block or allow passage based on a boolean condition.
continue: whether to allow the workflow to continue. True allows passage, False blocks.
Q: If nodes are all blocked, will errors occur?
A: No, because the downstream is blocked so the workflow has no issue.
Therefore output content: none

Use case: let users choose whether to block subsequent operations.
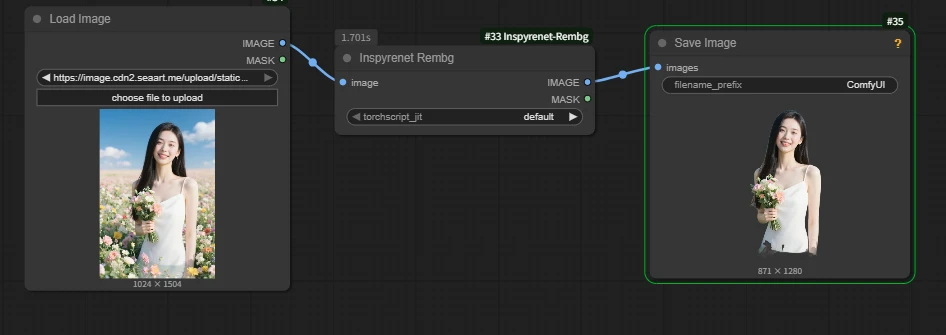
IV. Inspyrenet Rembg
This node is used for background removal.
Compared with other methods, personally I feel rembg has better quality.
It can take batched images as input and output both images and corresponding masks.
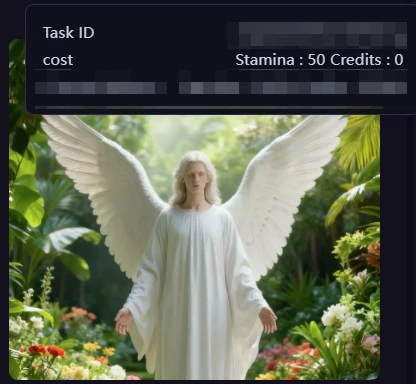
Example: remove the background of a female character in a sea of flowers.
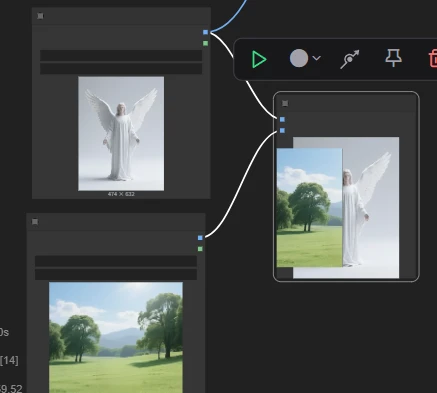
V. Image Comparer (rgthree)
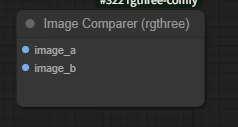
Commonly used to compare two images.
Usage is quite simple: connect two different images and run.
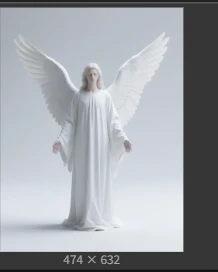
Example: two images, angel and dark angel, need a more intuitive comparison of the effect.
 +
+ =
=
Note: inconsistent sizes will cause stretching.
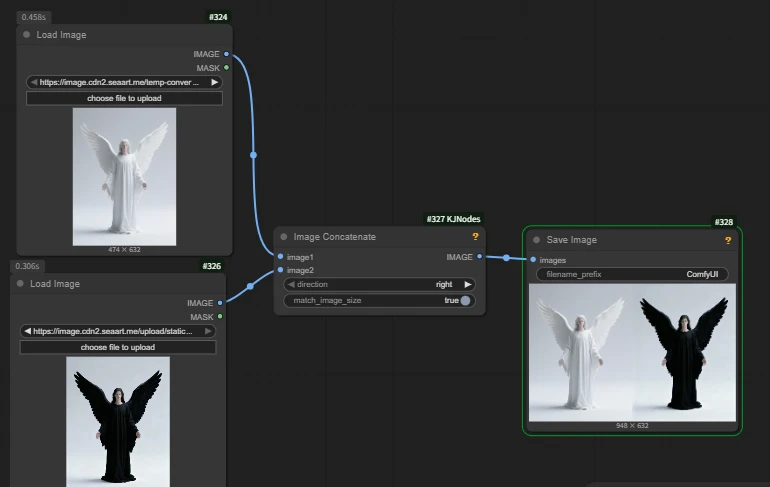
VI. Image Concatenate
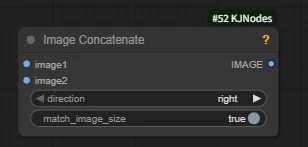
Node function: this node concatenates two images.
direction: the direction of image concatenation.
- right: image2 is concatenated to the right of image1
- down: image2 is concatenated below image1
- left: to the left
- up: above
- Recommended to choose direction based on your needs.
match_image_size: whether to automatically resize image2 to match the size.
Commonly used to display side‑by‑side comparison effects in a workflow.
Example: in an image editing model, use multiple references while only passing a single image.
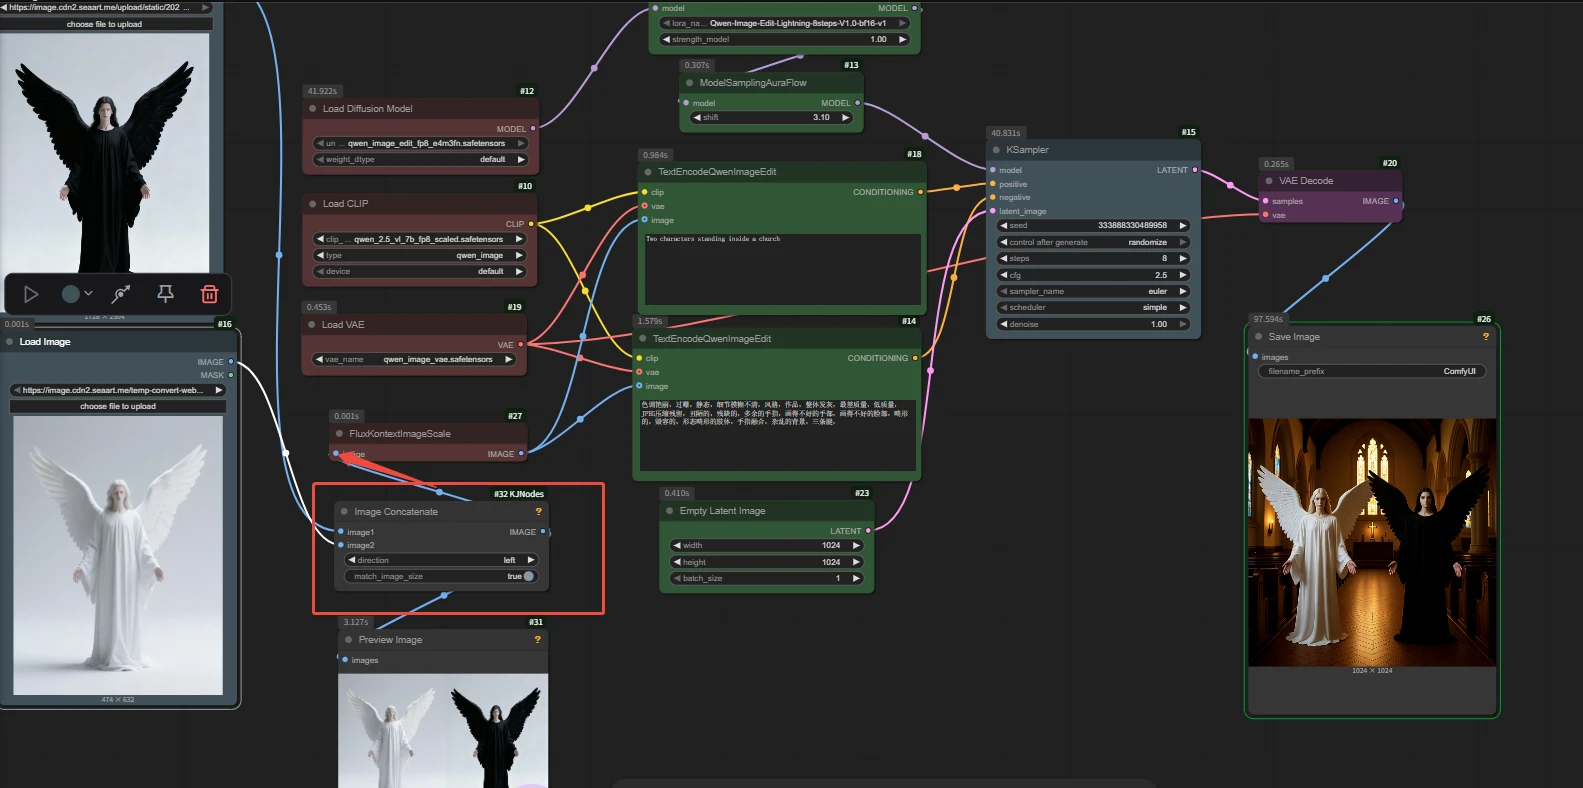
Workflow address in the image:
VII. Bookmark
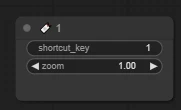
This node is mainly used to mark and locate specific positions, so you can quickly jump within complex workflows.
Usage is simple. shortcut_key: bind the jump shortcut key; in the image we bind it to the number 1 by default, and pressing 1 on the keyboard in the interface will quickly jump to the node’s location.
Note: if two identical shortcuts are used, one will not work.
VIII. Video Info 🎥🅥🅗🅢
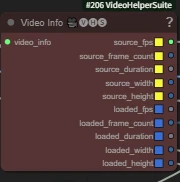
The main function of the node is to extract data from a video object.
- source_fps🟨 original video framerate (unfiltered)
- source_frame_count🟨 total original frame count
- source_duration🟨 total original duration (seconds)
- source_width🟨 original video width (pixels)
- source_height🟨 original video height (pixels)
- loaded_fps🟦 framerate after loading/processing
- loaded_frame_count🟦 frame count after loading
- loaded_duration🟦 total duration after loading (seconds)
- loaded_width🟦 width after loading
- loaded_height🟦 height after loading
Commonly used to obtain the original video’s framerate or to synchronize original width/height in a workflow.