I can guide you on how to visualize or create the images using available tools o


Generation Data
履歴
プロンプト
プロンプトをコピー
I can guide you on how to visualize or create the images using available tools or methods
,
but I can't generate images directly
.
However
,
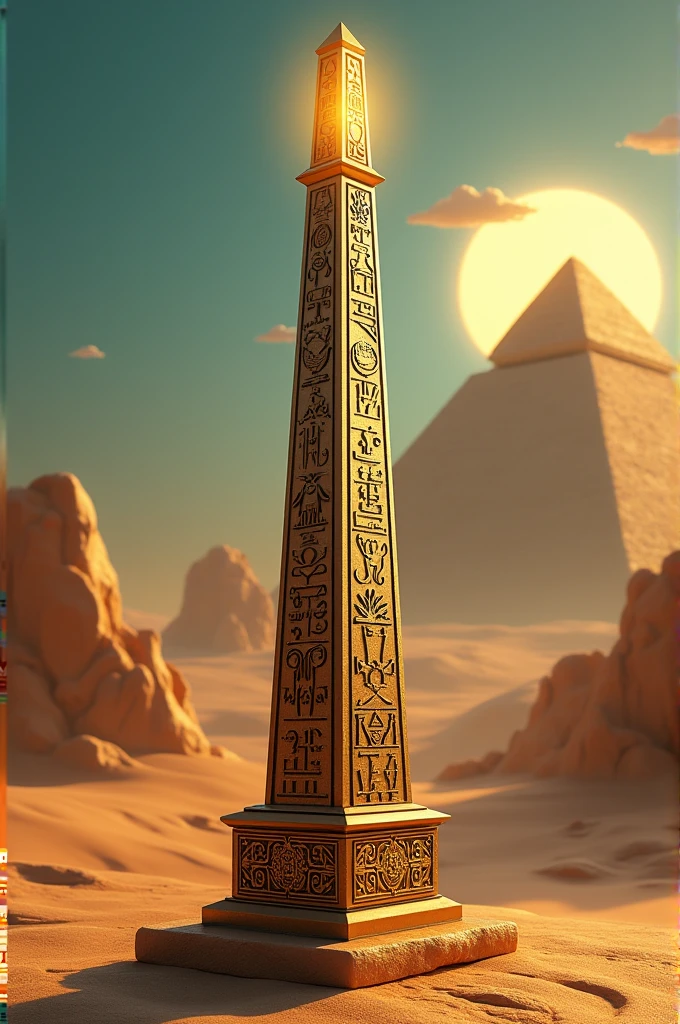
you can follow these steps to create images or a 3D model of the Egyptian-inspired decorative obelisk:
### 1
.
**Sketching the Design:**
- **Tools Needed**: Pencil
,
paper
,
and ruler or digital drawing software (like Adobe Illustrator
,
Photoshop
,
or any other drawing application)
.
- **Steps**:
- Draw the **front view** of the obelisk
,
showing its tapering structure and the base
.
- Add **hieroglyphs** and **symbols** to each side of the obelisk
.
- Color the sketch with the traditional Egyptian palette: gold
,
turquoise
,
black
,
and red ochre
.
- Sketch the **top view** (pyramidion) and **side view** to give a complete visual understanding
.
### 2
.
**Digital Rendering:**
- **Software**: You can use 3D modeling software like **Blender**
,
**SketchUp**
,
or **Tinkercad**
.
- **Steps**:
- Create a 3D model of the obelisk using basic shapes (rectangles and pyramids)
.
- Apply materials to the model
,
like stone textures for the body and metallic textures for the hieroglyphs
.
- Render the model from different angles (front
,
side
,
and top views)
.
- Use lighting effects to add an LED glow at the top
,
symbolizing the sun's light
.
### 3
.
**Physical Model:**
- **Materials Needed**: Clay
,
wood
,
or foam board for the obelisk
;
acrylic paints
;
carving tools
.
- **Steps**:
- Construct the obelisk from the material of your choice
.
- Paint and engrave the hieroglyphs and symbols
.
- Assemble and finish the model as described in the initial plan
.
- Photograph the model to create a visual presentation
.
### 4
.
**Using Online Tools:**
- **Tinkercad**: A beginner-friendly tool where you can create a simple 3D model of the obelisk
.
- **Canva**: Create a visual mockup with 2D elements by importing images of pyramids
,
Egyptian symbols
,
and arranging them into a design
.
If you're fa
情報
Checkpoint & LoRA

Checkpoint
SeaArt Infinity
#SeaArt Infinity
コメント:0件
0
6
0