
유형
Checkpoint
게시 날짜
2023-03-20
기본 모델
SD 1.5
트리거 단어
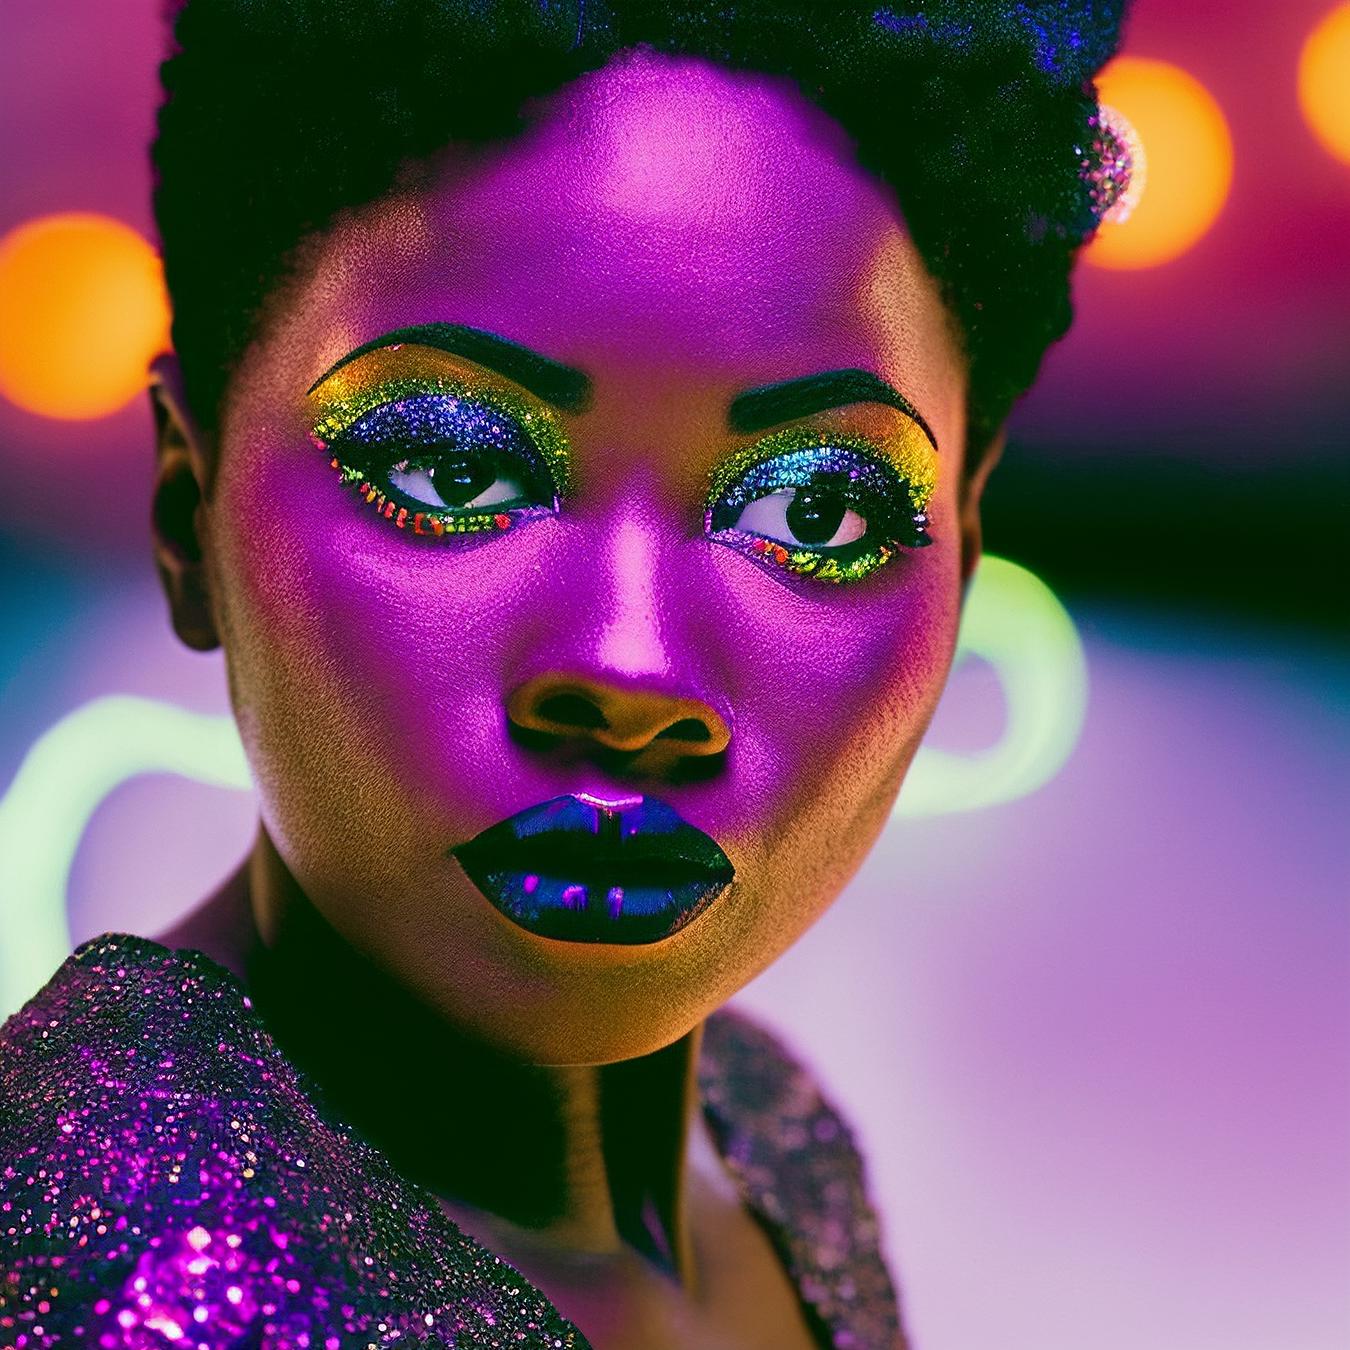
35mmneon
복사
버전 소개
Trained on 250 images at 4500 steps using the Fast Dreambooth colab with external captions.


Trained on 250 images at 4500 steps using the Fast Dreambooth colab with external captions.
1. 재게시된 모델의 권리는 원 제작자에게 있습니다.
2. 모델 원작자가 모델을 인증받으려면 공식 채널을 통해 SeaArt.AI 직원에게 문의하세요. 저희는 모든 창작자의 권리를 보호하기 위해 노력합니다. 인증하러 이동
