### Materials Needed 1. **Base and Trunk:** - Card, wood or sturdy material
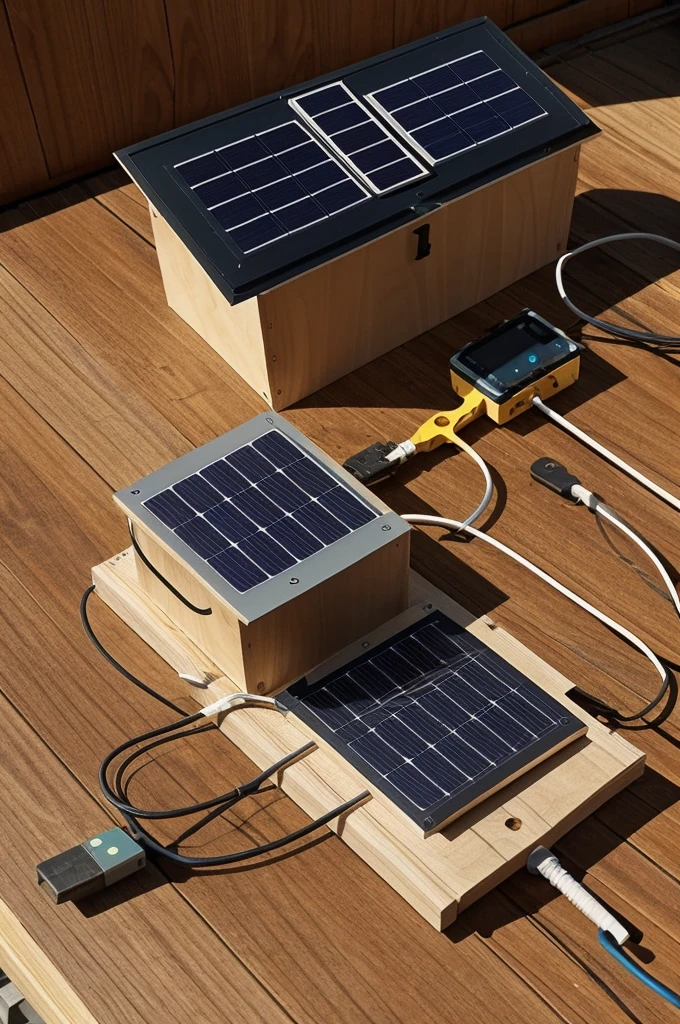


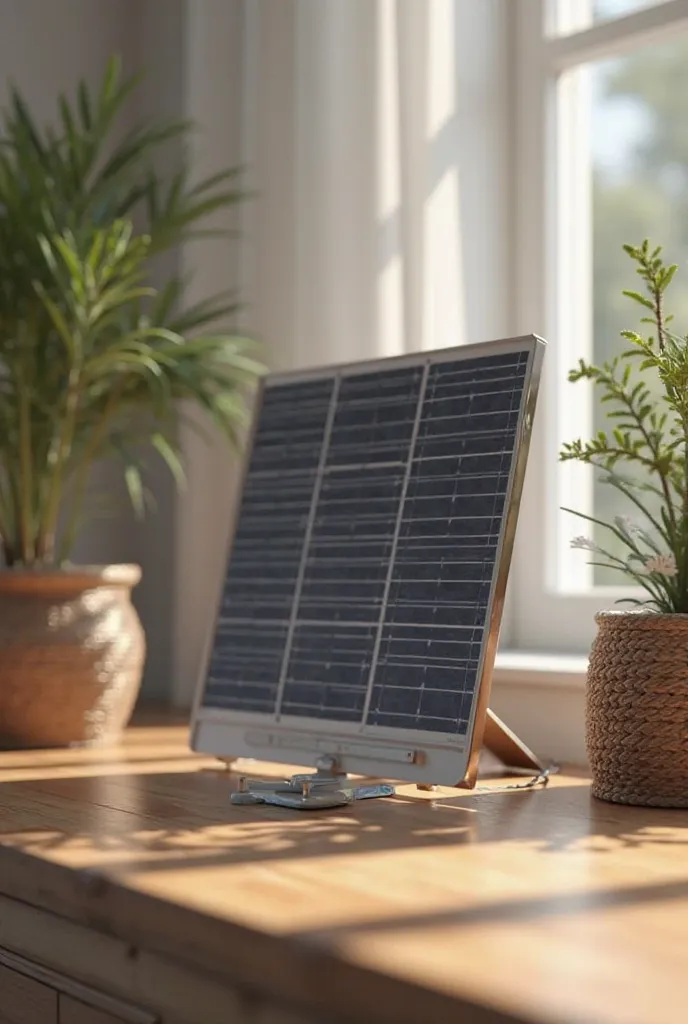
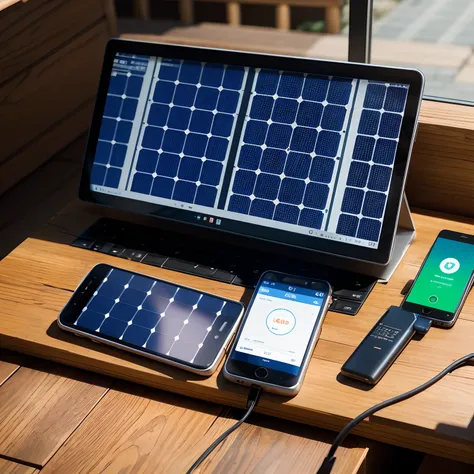
### Materials Needed 1. **Base and Trunk:** - Card, wood or sturdy material for the base. - Cardboard tube, PVC or madera for the trunk. 2. **Solar Leaves:** - Mini solar panels (available in electronics stores or online). - Alambre fino for electrical connections. - Scotch tape o pegamento. 3. **Remaining:** - Thick wire or small tubes for the branches. 4. **tools:** - Glue gun. - Scotch tape. - Scissors and cutter. - Soldering iron and tin (for electrical connections). 5. **Electric components:** - Small LED lights or devices to show the energy generated. - Resistor (if necessary for LED lights). - Multimeter to measure voltages and currents. ### Steps to Follow 1. **Base and Trunk Construction:** - Cut out a stable base from cardboard or wood. - Fix the tube or stick that will function as the tree trunk in the center of the base using glue or silicone. 2. **Fabricación de las Remaining:** - Bend the thick wire or use small tubes to form the branches. Make sure they are strong enough to hold the solar sheets. - Fix the branches to the trunk using tape or glue. 3. **Preparación de las Solar Leaves:** - Connect the mini solar panels in series or parallel, depending on the voltage and current you need. This will require soldering wires to the solar panel terminals.. - Attach the solar panels to the branches of the tree, making sure they are securely secured and facing upwards to maximize light collection. 4. **Electric connection:** - Connect the cables from the solar panels to a common point that will bring the energy to the base of the tree. - Integrate the LED lights or the chosen device into the base and connect it to the cables that carry power from the solar panels. - Use resistors if necessary to prevent LED lights from burning out. 5. **Final Assembly:** -
提示词
复制
### Materials Needed 1
.
**Base and Trunk:**
- Card
,
wood or sturdy material for the base
.
- Cardboard tube
,
PVC or madera for the trunk
.
2
.
**Solar Leaves:**
- Mini solar panels (available in electronics stores or online)
.
- Alambre fino for electrical connections
.
- Scotch tape o pegamento
.
3
.
**Remaining:**
- Thick wire or small tubes for the branches
.
4
.
**tools:**
- Glue gun
.
- Scotch tape
.
- Scissors and cutter
.
- Soldering iron and tin (for electrical connections)
.
5
.
**Electric components:**
- Small LED lights or devices to show the energy generated
.
- Resistor (if necessary for LED lights)
.
- Multimeter to measure voltages and currents
.
### Steps to Follow 1
.
**Base and Trunk Construction:**
- Cut out a stable base from cardboard or wood
.
- Fix the tube or stick that will function as the tree trunk in the center of the base using glue or silicone
.
2
.
**Fabricación de las Remaining:**
- Bend the thick wire or use small tubes to form the branches
.
Make sure they are strong enough to hold the solar sheets
.
- Fix the branches to the trunk using tape or glue
.
3
.
**Preparación de las Solar Leaves:**
- Connect the mini solar panels in series or parallel
,
depending on the voltage and current you need
.
This will require soldering wires to the solar panel terminals
..
- Attach the solar panels to the branches of the tree
,
making sure they are securely secured and facing upwards to maximize light collection
.
4
.
**Electric connection:**
- Connect the cables from the solar panels to a common point that will bring the energy to the base of the tree
.
- Integrate the LED lights or the chosen device into the base and connect it to the cables that carry power from the solar panels
.
- Use resistors if necessary to prevent LED lights from burning out
.
5
.
**Final Assembly:**
-
信息
模型 & 风格

模型
CyberRealistic
共 0 条评论
0
0
0