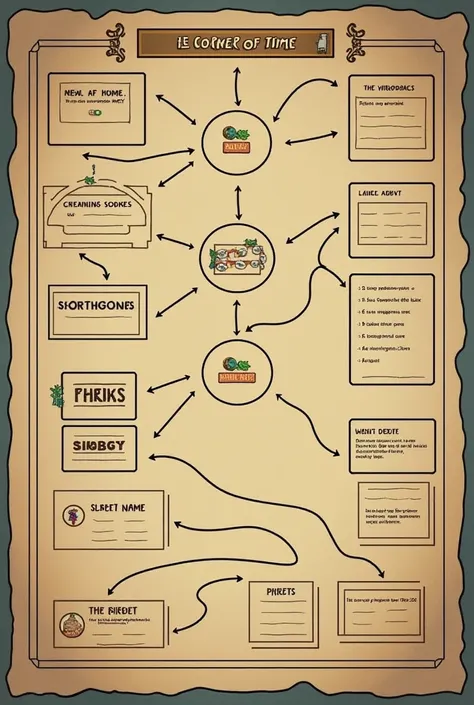
Here is a step-by-step guide to creating the game path graph
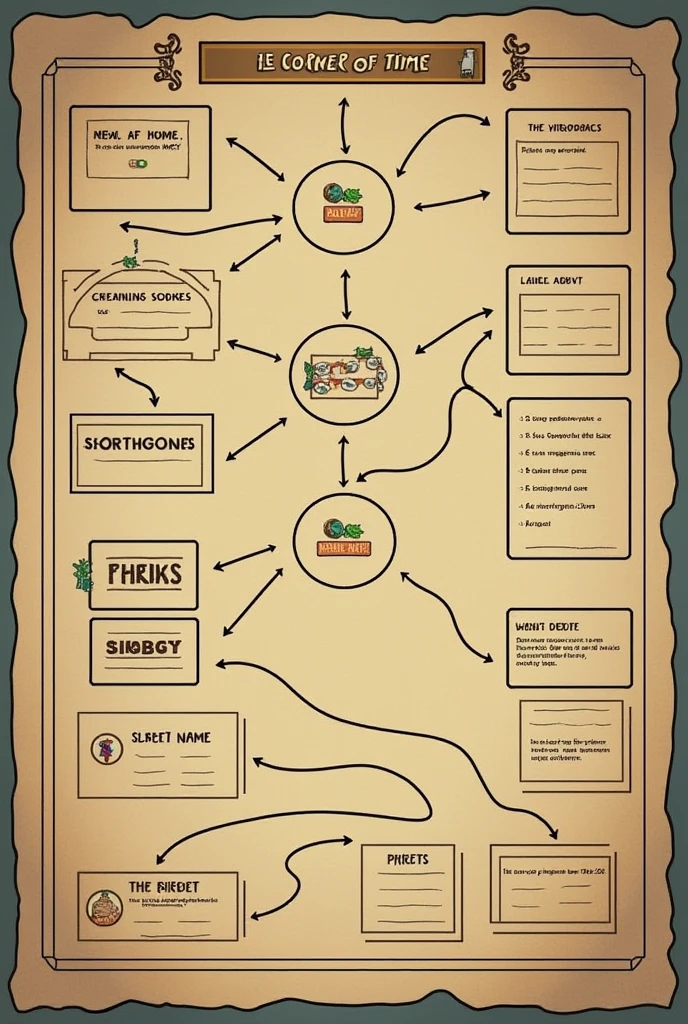


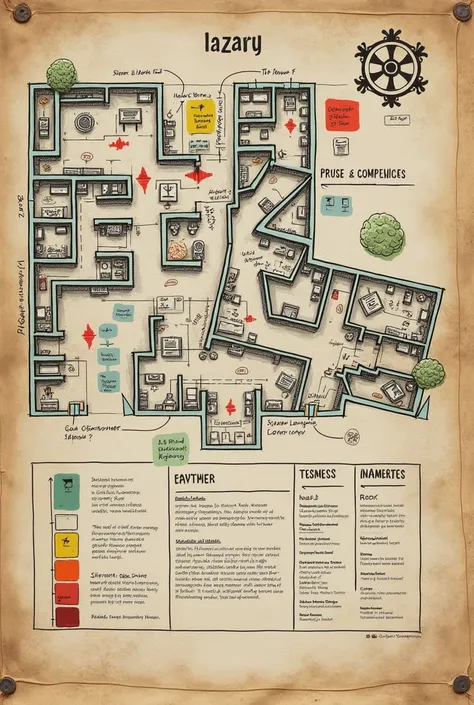
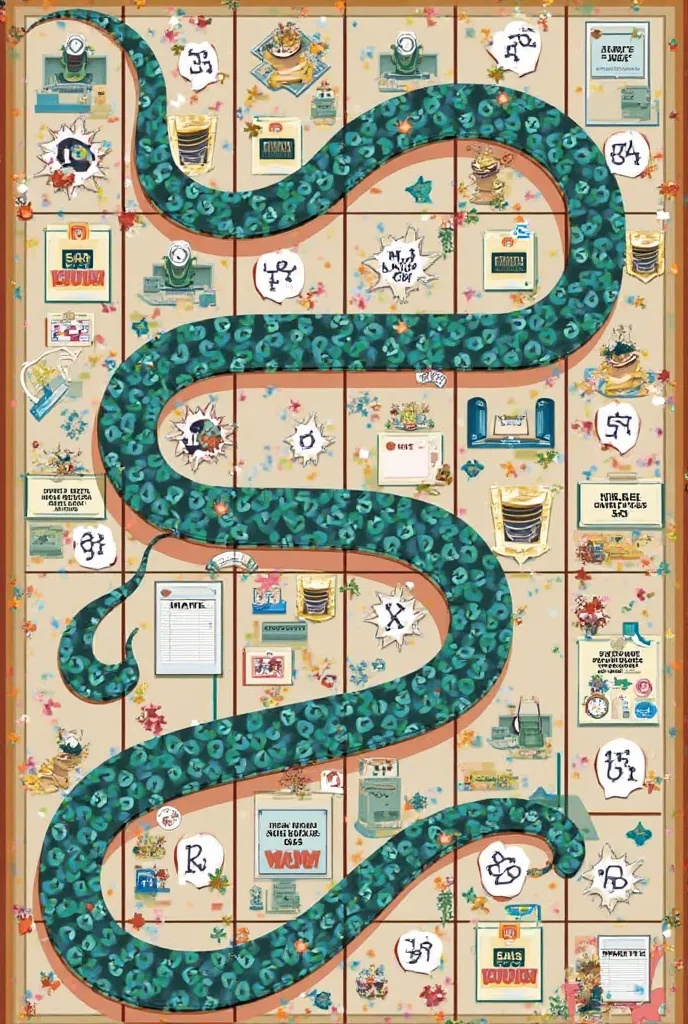
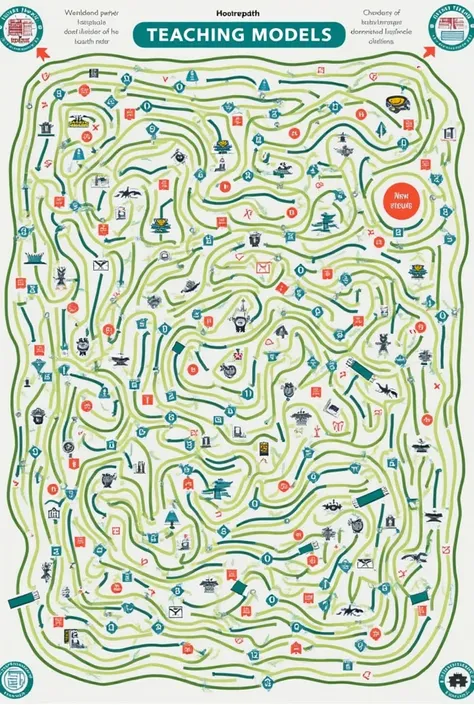
Here is a step-by-step guide to creating the game path graph. "The Corner of Time" using a design tool like PowerPoint, canva, or even paper and pencil. ### Step 1: Prepare the Elements 1. **Identify the Levels**: - Level 1: The Warehouse - Level 2: The Fruit and Vegetable Section - Level 3: The Refrigerated Zone - Level 4: The Bakery - Level 5: The Cashier Zone - Level 6: The Cleaning Section - Level 7: The Administration Office - Level 8: The Final Enemy - The Time Saboteur 2. **Determine the Components of Each Level**: - **Goals**: Summarize the main objective of the level. - **Obstacles**: Mention some challenges that the player will face. - **NPCs**: Non-player characters who offer help or information. - **Enemies**: Mention the enemies that will appear in each level. ### Step 2: Creating the Basic Structure 1. **Select a Tool**: You can use PowerPoint, canva, or a sheet of paper. 2. **Create Shapes for Each Level**: - Use rectangles or circles to represent each level. - Place the levels in order from top to bottom or from left to right. ### Step 3: Add Details 1. **Connect the Levels**: Use arrows to show progression from one level to another. 2. **Add Text**: Within each form, add level name, And below, Briefly write the objectives, obstacles, NPCs, and enemies. ### Step 4: Customize and Improve Design 1. **Add Icons or Images**: You can add small icons that represent zombies, shelves, refrigerators, etc. 2. **Adjust the Colors**: Use soft or thematic colors that reflect the atmosphere of the game (For example, Metallic colors for a supermarket environment). ### Step 5: Review and Save 1. **Check your Chart**: Make sure all information is clear and well organized. 2. **Save the File**: If you are in a digital tool, Save your work in JPG or PDF format
Generation Data
Protokolle
Prompts
Prompts kopieren
Here is a step-by-step guide to creating the game path graph
.
"The Corner of Time" using a design tool like PowerPoint
,
canva
,
or even paper and pencil
.
### Step 1: Prepare the Elements 1
.
**Identify the Levels**:
- Level 1: The Warehouse - Level 2: The Fruit and Vegetable Section - Level 3: The Refrigerated Zone - Level 4: The Bakery - Level 5: The Cashier Zone - Level 6: The Cleaning Section - Level 7: The Administration Office - Level 8: The Final Enemy - The Time Saboteur 2
.
**Determine the Components of Each Level**:
- **Goals**: Summarize the main objective of the level
.
- **Obstacles**: Mention some challenges that the player will face
.
- **NPCs**: Non-player characters who offer help or information
.
- **Enemies**: Mention the enemies that will appear in each level
.
### Step 2: Creating the Basic Structure 1
.
**Select a Tool**: You can use PowerPoint
,
canva
,
or a sheet of paper
.
2
.
**Create Shapes for Each Level**:
- Use rectangles or circles to represent each level
.
- Place the levels in order from top to bottom or from left to right
.
### Step 3: Add Details 1
.
**Connect the Levels**: Use arrows to show progression from one level to another
.
2
.
**Add Text**: Within each form
,
add level name
,
And below
,
Briefly write the objectives
,
obstacles
,
NPCs
,
and enemies
.
### Step 4: Customize and Improve Design 1
.
**Add Icons or Images**: You can add small icons that represent zombies
,
shelves
,
refrigerators
,
etc
.
2
.
**Adjust the Colors**: Use soft or thematic colors that reflect the atmosphere of the game (For example
,
Metallic colors for a supermarket environment)
.
### Step 5: Review and Save 1
.
**Check your Chart**: Make sure all information is clear and well organized
.
2
.
**Save the File**: If you are in a digital tool
,
Save your work in JPG or PDF format
Info
Checkpoint & LoRA
Checkpoint
SeaArt Infinity
#SeaArt Infinity
0 Kommentar(e)
1
0
0
SeaArt schnelle KI-Apps
KI-Video-Erstellung
Entfessle deine Fantasie und lass die KI visuelle Wunder für dich erschaffen.
Gesicht kostenlos tauschen
Erstelle lustige oder realistische Gesichtstausch-Viedeos und Fotos.
KI-Entfernung
Entferne ganz einfach unerwünschte Objekte, Wasserzeichen oder Personen aus deinen Fotos.
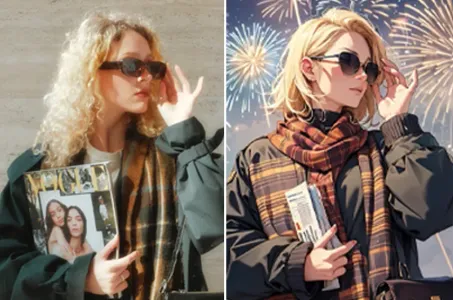
KI-Filter
Verwandelt jedes Foto in ein Kunstwerk
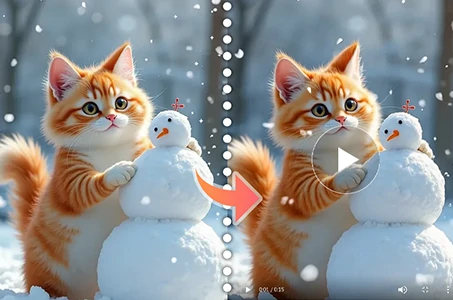
Wan 2.1 Bild-zu-Video
Animiere Fotos mit realistischer Bewegung und kinematischen Effekten.
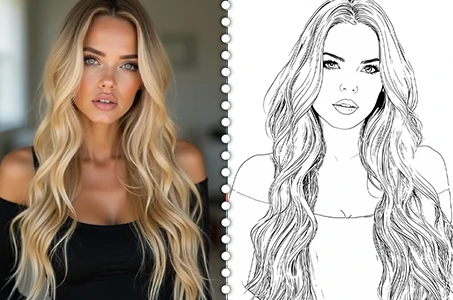
Bild zu Strichzeichnung
Verwandle mühelos jedes Bild in elegante Strichzeichnungen.
Entdecke mehr KI-Apps