
Drawing a lake landscape with a house is a great way to practice your illustrati
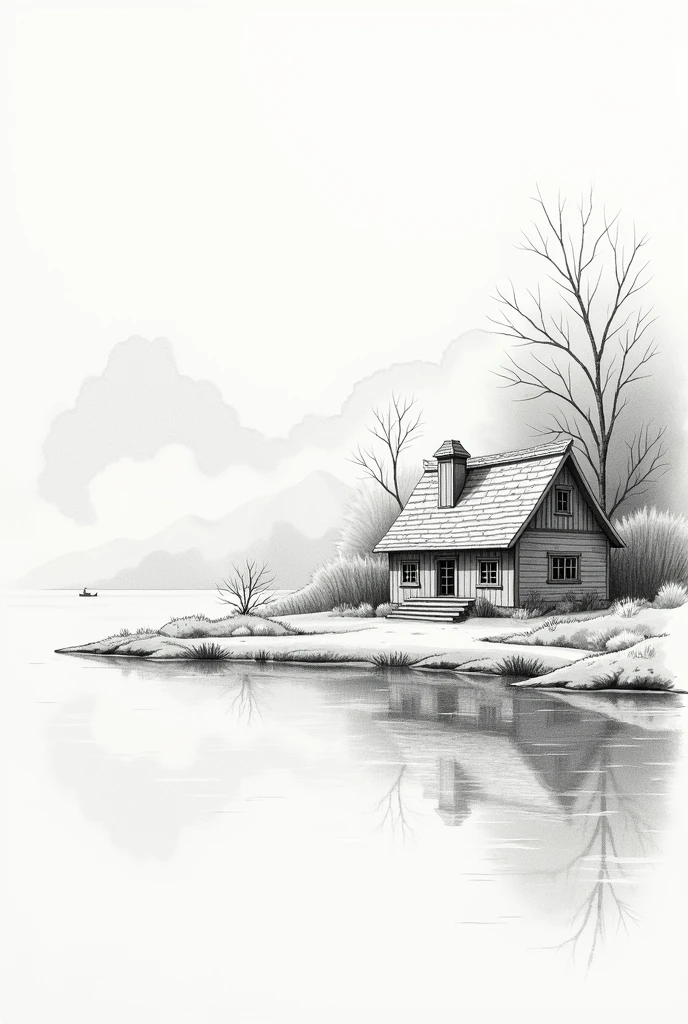


Drawing a lake landscape with a house is a great way to practice your illustration skills and explore composition.. We'll break down the process into detailed steps to help you create a beautiful, balanced drawing.. ### Materials Needed: - Drawing paper - Pencil (preferably 2B or HB) - Eraser - Pens or colored pencils (optional para colorir) - Ruler (optional) ### Stage 1: Initial Sketch 1. **Plan the Composition**: - Before you start drawing, Think about the arrangement of the elements. Decide where the lake, the house and other elements, such as trees or mountains, will be located. 2. **Draw the Outline of the Lake**: - Start by drawing a horizontal line for the horizon. Below this line, draw the outline of the lake. The lake can be represented by an oval or irregular shape, depending on the style you want. Keep the bottom of the pond shape wider and the top narrower to give a natural effect. 3. **Add Home**: - Choose a location for the house, usually in a position slightly off center to create visual balance. Draw a basic shape for the house, like a rectangle for the main body and a triangle or pyramid for the roof. ### Stage 2: Detail 1. **Draw the House Structure**: - Add details to the house, like windows, doors and the roof. If the house has a chimney or other architectural elements, include them here. Don't forget to add a pathway leading from the house to the lake if you want an added touch.. 2. **Create the Horizon Line**: - No horizon, You can add some additional elements, like distant mountains or trees, to create depth. 3. **Draw the Reflection in the Lake**: - The reflection of the house and trees in the lake can be drawn as soft, distorted lines, following the contour of the lake. Use softer, slightly blurred lines to simulate the effect of water.. ### Stage 3: Adding Details 1

Prompts
Copier les Paramètres
Drawing a lake landscape with a house is a great way to practice your illustration skills and explore composition
..
We'
;
ll break down the process into detailed steps to help you create a beautiful
,
balanced drawing
..
### Materials Needed:
- Drawing paper - Pencil (preferably 2B or HB)
- Eraser - Pens or colored pencils (optional para colorir)
- Ruler (optional)
### Stage 1: Initial Sketch 1
.
**Plan the Composition**:
- Before you start drawing
,
Think about the arrangement of the elements
.
Decide where the lake
,
the house and other elements
,
such as trees or mountains
,
will be located
.
2
.
**Draw the Outline of the Lake**:
- Start by drawing a horizontal line for the horizon
.
Below this line
,
draw the outline of the lake
.
The lake can be represented by an oval or irregular shape
,
depending on the style you want
.
Keep the bottom of the pond shape wider and the top narrower to give a natural effect
.
3
.
**Add Home**:
- Choose a location for the house
,
usually in a position slightly off center to create visual balance
.
Draw a basic shape for the house
,
like a rectangle for the main body and a triangle or pyramid for the roof
.
### Stage 2: Detail 1
.
**Draw the House Structure**:
- Add details to the house
,
like windows
,
doors and the roof
.
If the house has a chimney or other architectural elements
,
include them here
.
Don'
;
t forget to add a pathway leading from the house to the lake if you want an added touch
..
2
.
**Create the Horizon Line**:
- No horizon
,
You can add some additional elements
,
like distant mountains or trees
,
to create depth
.
3
.
**Draw the Reflection in the Lake**:
- The reflection of the house and trees in the lake can be drawn as soft
,
distorted lines
,
following the contour of the lake
.
Use softer
,
slightly blurred lines to simulate the effect of water
..
### Stage 3: Adding Details 1
Info
Checkpoint & LoRA
Checkpoint
SeaArt Infinity
#Conception de scène
#SeaArt Infinity
0 commentaire(s)
0
1
0
Apps AI Rapides de SeaArt
Échange de Visage AI
Explorez différentes identités et découvrez vous-même à nouveau en un clic

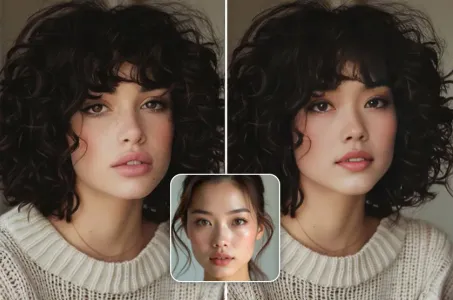
Agrandisseur d'Image AI
Faites aujourd'hui la magie d'une clarté cristalline !

Suppression de l'arrière-plan
Supprimer l'arrière-plan par AI
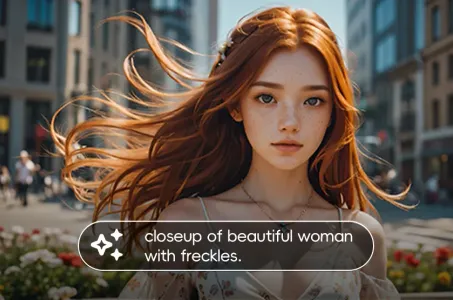
Générateur de Txt2Img AI
Transformez des Mots Simples en Art Saisissant
Portrait AI
Réalisez votre portrait en un clic et débloquez votre style unique !

Sora Text to Vidéo
Générer le vidéo de 60 secondes à partir de langage naturel
Explorez Nos Outils AI Rapides