
How to Use Veo 3.1: Create Cinematic AI Video Generation
The wait is over. Google's Veo 3.1 has arrived, and it's reshaping the landscape of AI video generation with native 1080p resolution, 8-second consistency, and cinematic physics that rival Sora. But finding exactly where to access it can be confusing.
Is it an app? Is it a website? Do you need to be a developer?
In this guide, we'll cut through the noise. We will walk you through exactly how to use Veo 3.1 via the official Google Flow (VideoFX) platform, and explore a universal method via SeaArt AI that makes this powerful model accessible to everyone. Whether you're a filmmaker or a marketer, you'll learn the exact prompts and settings to get Hollywood-grade shots today.
What is Veo 3.1?
Veo 3.1 is Google's most advanced generative video model to date. Unlike previous iterations, it doesn't just "move pixels around" - it understands 3D geometry, lighting, and cinematic language.
Massive Leap from Previous Versions
Compared to the earlier Veo and even standard competitive models, Veo 3.1 brings critical upgrades that professionals have been waiting for:
- Native 1080p Resolution: No upscaling required; the raw output is crisp High Definition (a ~40% clarity boost over older models).
- Extended Duration: While older models struggled past 4 seconds, Veo 3.1 can generate coherent 8-second clips in a single pass and extend them up to 60 seconds seamlessly.
- Intelligent Audio Integration: It doesn't just make silent clips; it can gen erate synchronized environmental sounds and dialogue that match the visual action.
- Object Inpainting: A game-changer for editors - you can now "insert" or "remove" objects from a video, and the AI automatically recalculates shadows and lighting to make it look real.
How to Use Google Veo 3.1
There are two primary ways to access this technology. Let's start with the official method.
Method 1: In Google Flow Official (VideoFX)
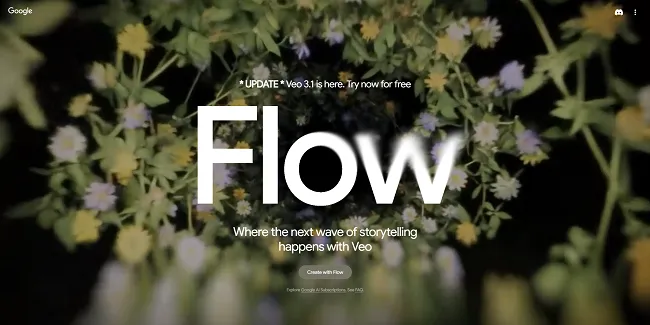
Google Labs hosts Veo 3.1 inside a tool called "VideoFX" (often referred to as part of the Google Flow ecosystem). It’s powerful, but it comes with specific credit limits.
1. Access and Setup
First, navigate to Google Labs and sign in with your Google Workspace or Gmail account. If you are in a supported region, you will see "VideoFX" available. Click "Sign in" to reach the dashboard.
Free Plan: You typically start with 100 credits per month (roughly 5 videos).
Pro Plan: Upgrading gives you ~1,000 credits (approx. 50 videos).
Note: Unlike Gemini, you won't see "New Chat." Instead, look for "New Project" to begin.
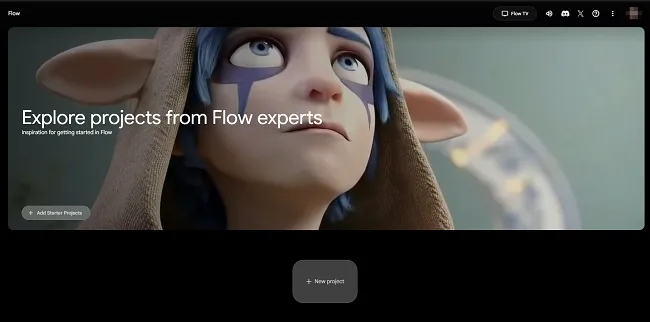
2. Choose Your Creation Mode
Google Flow offers three distinct modes for Veo 3.1:

Text-to-Video: The standard mode. Great for landscapes (e.g., "A drone shot flying over a coastal cliffside road"), but can be unpredictable for specific actions.
Frames-to-Video (Recommended): This is the most powerful feature. You upload a Start Frame (and optionally an End Frame). Veo 3.1 will animate the bridge between them. This is crucial for controlling exactly how a video begins and ends.
Ingredients-to-Video: A unique mode where you upload up to 3 images (e.g., a face, a style, and a background). The AI mixes these "ingredients" to generate a new concept.
3. Optimizing Settings
Before you hit generate, check the sidebar:
Aspect Ratio: Choose 16:9 for YouTube or 9:16 for Shorts/Reels.
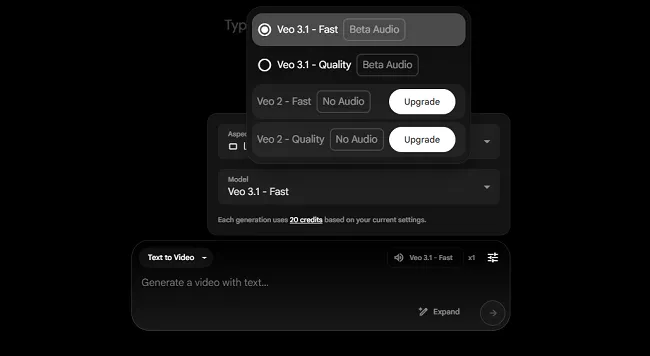
Model Selection: You will see options for "Fast" and "Quality."
Pro Tip: Stick to Fast for now. The "Quality" model costs 5x more credits but often produces similar results. Save your credits!
4. The Scene Builder
Once generated, you can use the "Add to Scene" button. This opens a timeline editor where you can stitch clips together. You can even use the "Extend" feature to prolong a clip, though be warned - transitions can sometimes be glitchy if the subject moves too fast.
Method 2: In SeaArt AI (The Universal Access Way)
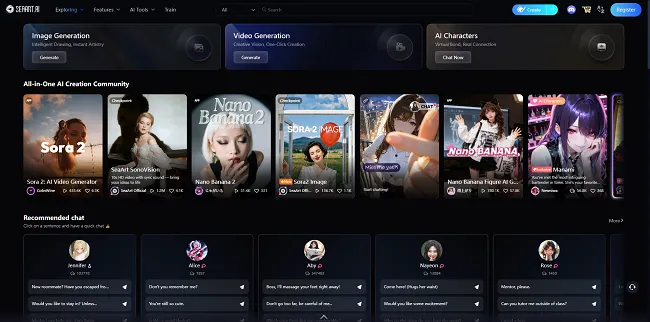
If you want to skip the waitlists, SeaArt AI is the best alternative. It integrates the official Veo 3.1 model directly, allowing everyone to use it immediately.
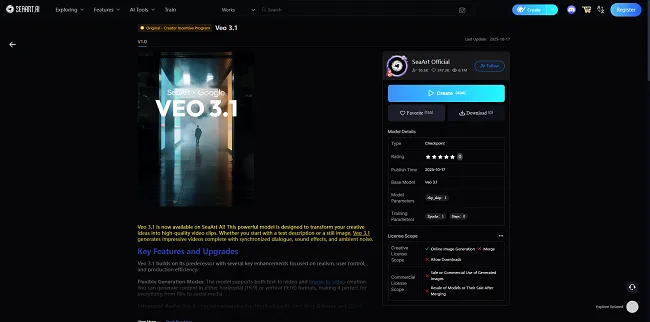
1. Access the Model Directly
Skip the complex navigation. Click here to visit the Veo 3.1 Model page. Once there, simply click the "Create" button. This will automatically launch the SeaArt Video Workflow with the Veo 3.1 model pre-loaded and ready to go.
2. Choose Your Input Method
Inside the workspace, you have two primary modes:
Text-to-Video: Great for creating environments from scratch.
Image-to-Video (Frames Mode): This is where Veo shines. You can upload a Start Frame and an optional End Frame. The AI will generate the motion connecting them, giving you precise control over the video's narrative arc.
Note: Looking for the "Ingredients-to-Video" feature? While not in the standard Veo workflow, you can achieve similar character consistency results using Seedream 4.0 AI Character Consistent Video Generator.
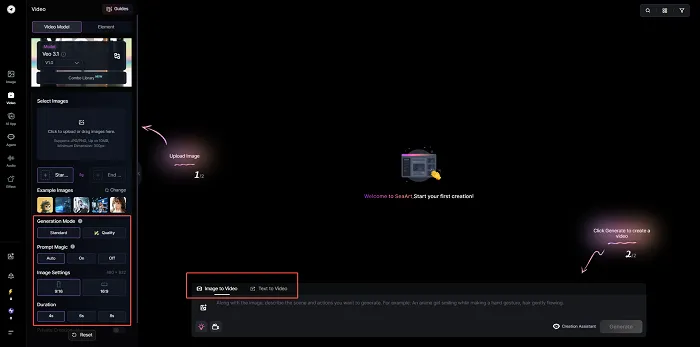
3. Customize Output Settings
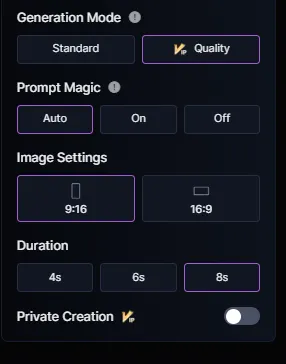
Before generating, fine-tune your parameters in the sidebar:
Generation Mode: Select Standard for fast, efficient results, or Quality (VIP) for maximum detail and coherence.
Aspect Ratio: Toggle between 16:9 (Cinematic) and 9:16 (Mobile/Shorts).
Duration: Choose your clip length: 4s, 6s, or 8s. (Veo 3.1 is famous for maintaining stability even at 8 seconds).
4. Generate
Click Generate and watch your masterpiece render in native 1080p.
Veo 3.1 – FAQs
Is Veo 3.1 free to use?
Yes, for example, in Google Labs (VideoFX), you can try Veo 3.1 for free with a daily or monthly quota of credits for experimentation.
Can I use Veo 3.1 for commercial work?
Yes, the Veo 3.1 model itself supports commercial use. Content generated via authorized platforms generally allows for commercial application, provided you adhere to Google's Generative AI Prohibited Use Policy and the specific terms of the service you are using.
Why does my video look blurry?
If your output isn't crisp, you might have generated it at a lower resolution setting to save credits. To fix this without regenerating, you can use AI Video Enhancer on SeaArt. This tool acts as a "one-click repair" to upscale resolution and sharpen details, salvaging footage that would otherwise be unusable.
Conclusion
Learning how to use Veo 3.1 doesn't have to be complicated. Whether you stick with the official Google Flow tool for granular control or choose SeaArt AI for instant, restriction-free access, you now have the power to create native 1080p cinematic videos in minutes.
The era of blurry, 4-second AI clips is over. Veo 3.1 has raised the bar - now it's your turn to start creating. Pick your preferred method, enter your first prompt, and watch your static ideas come to life.